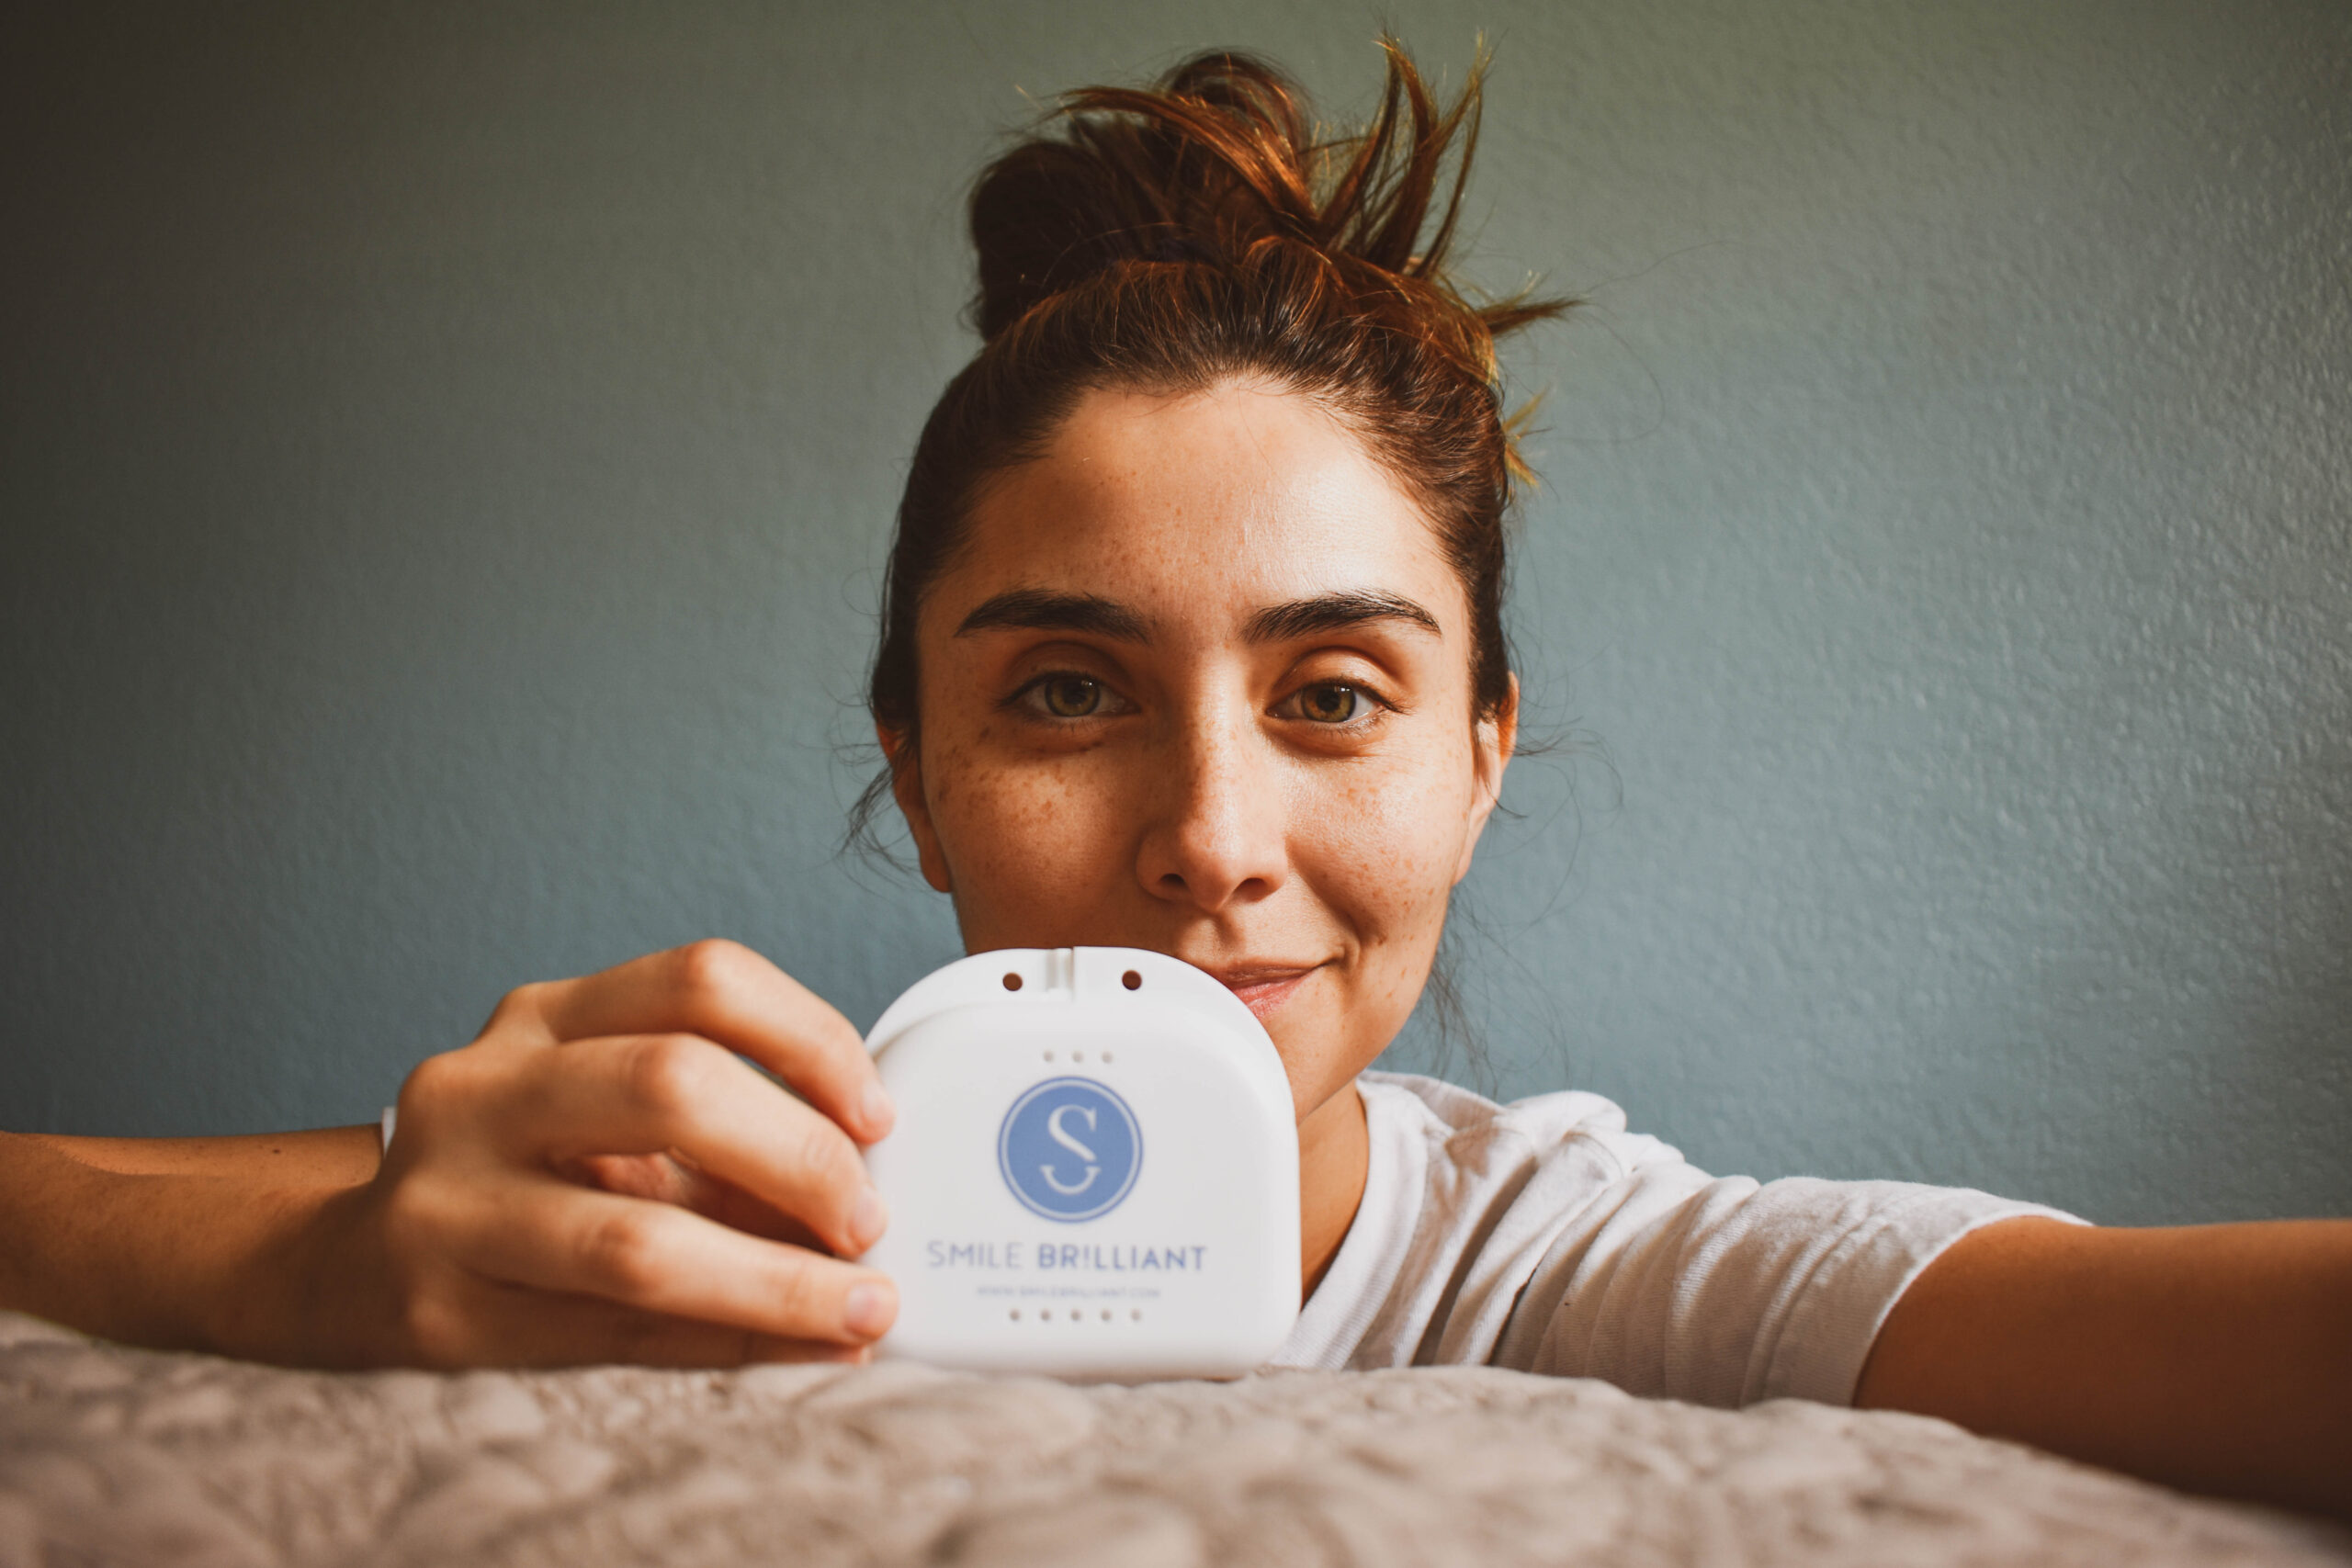
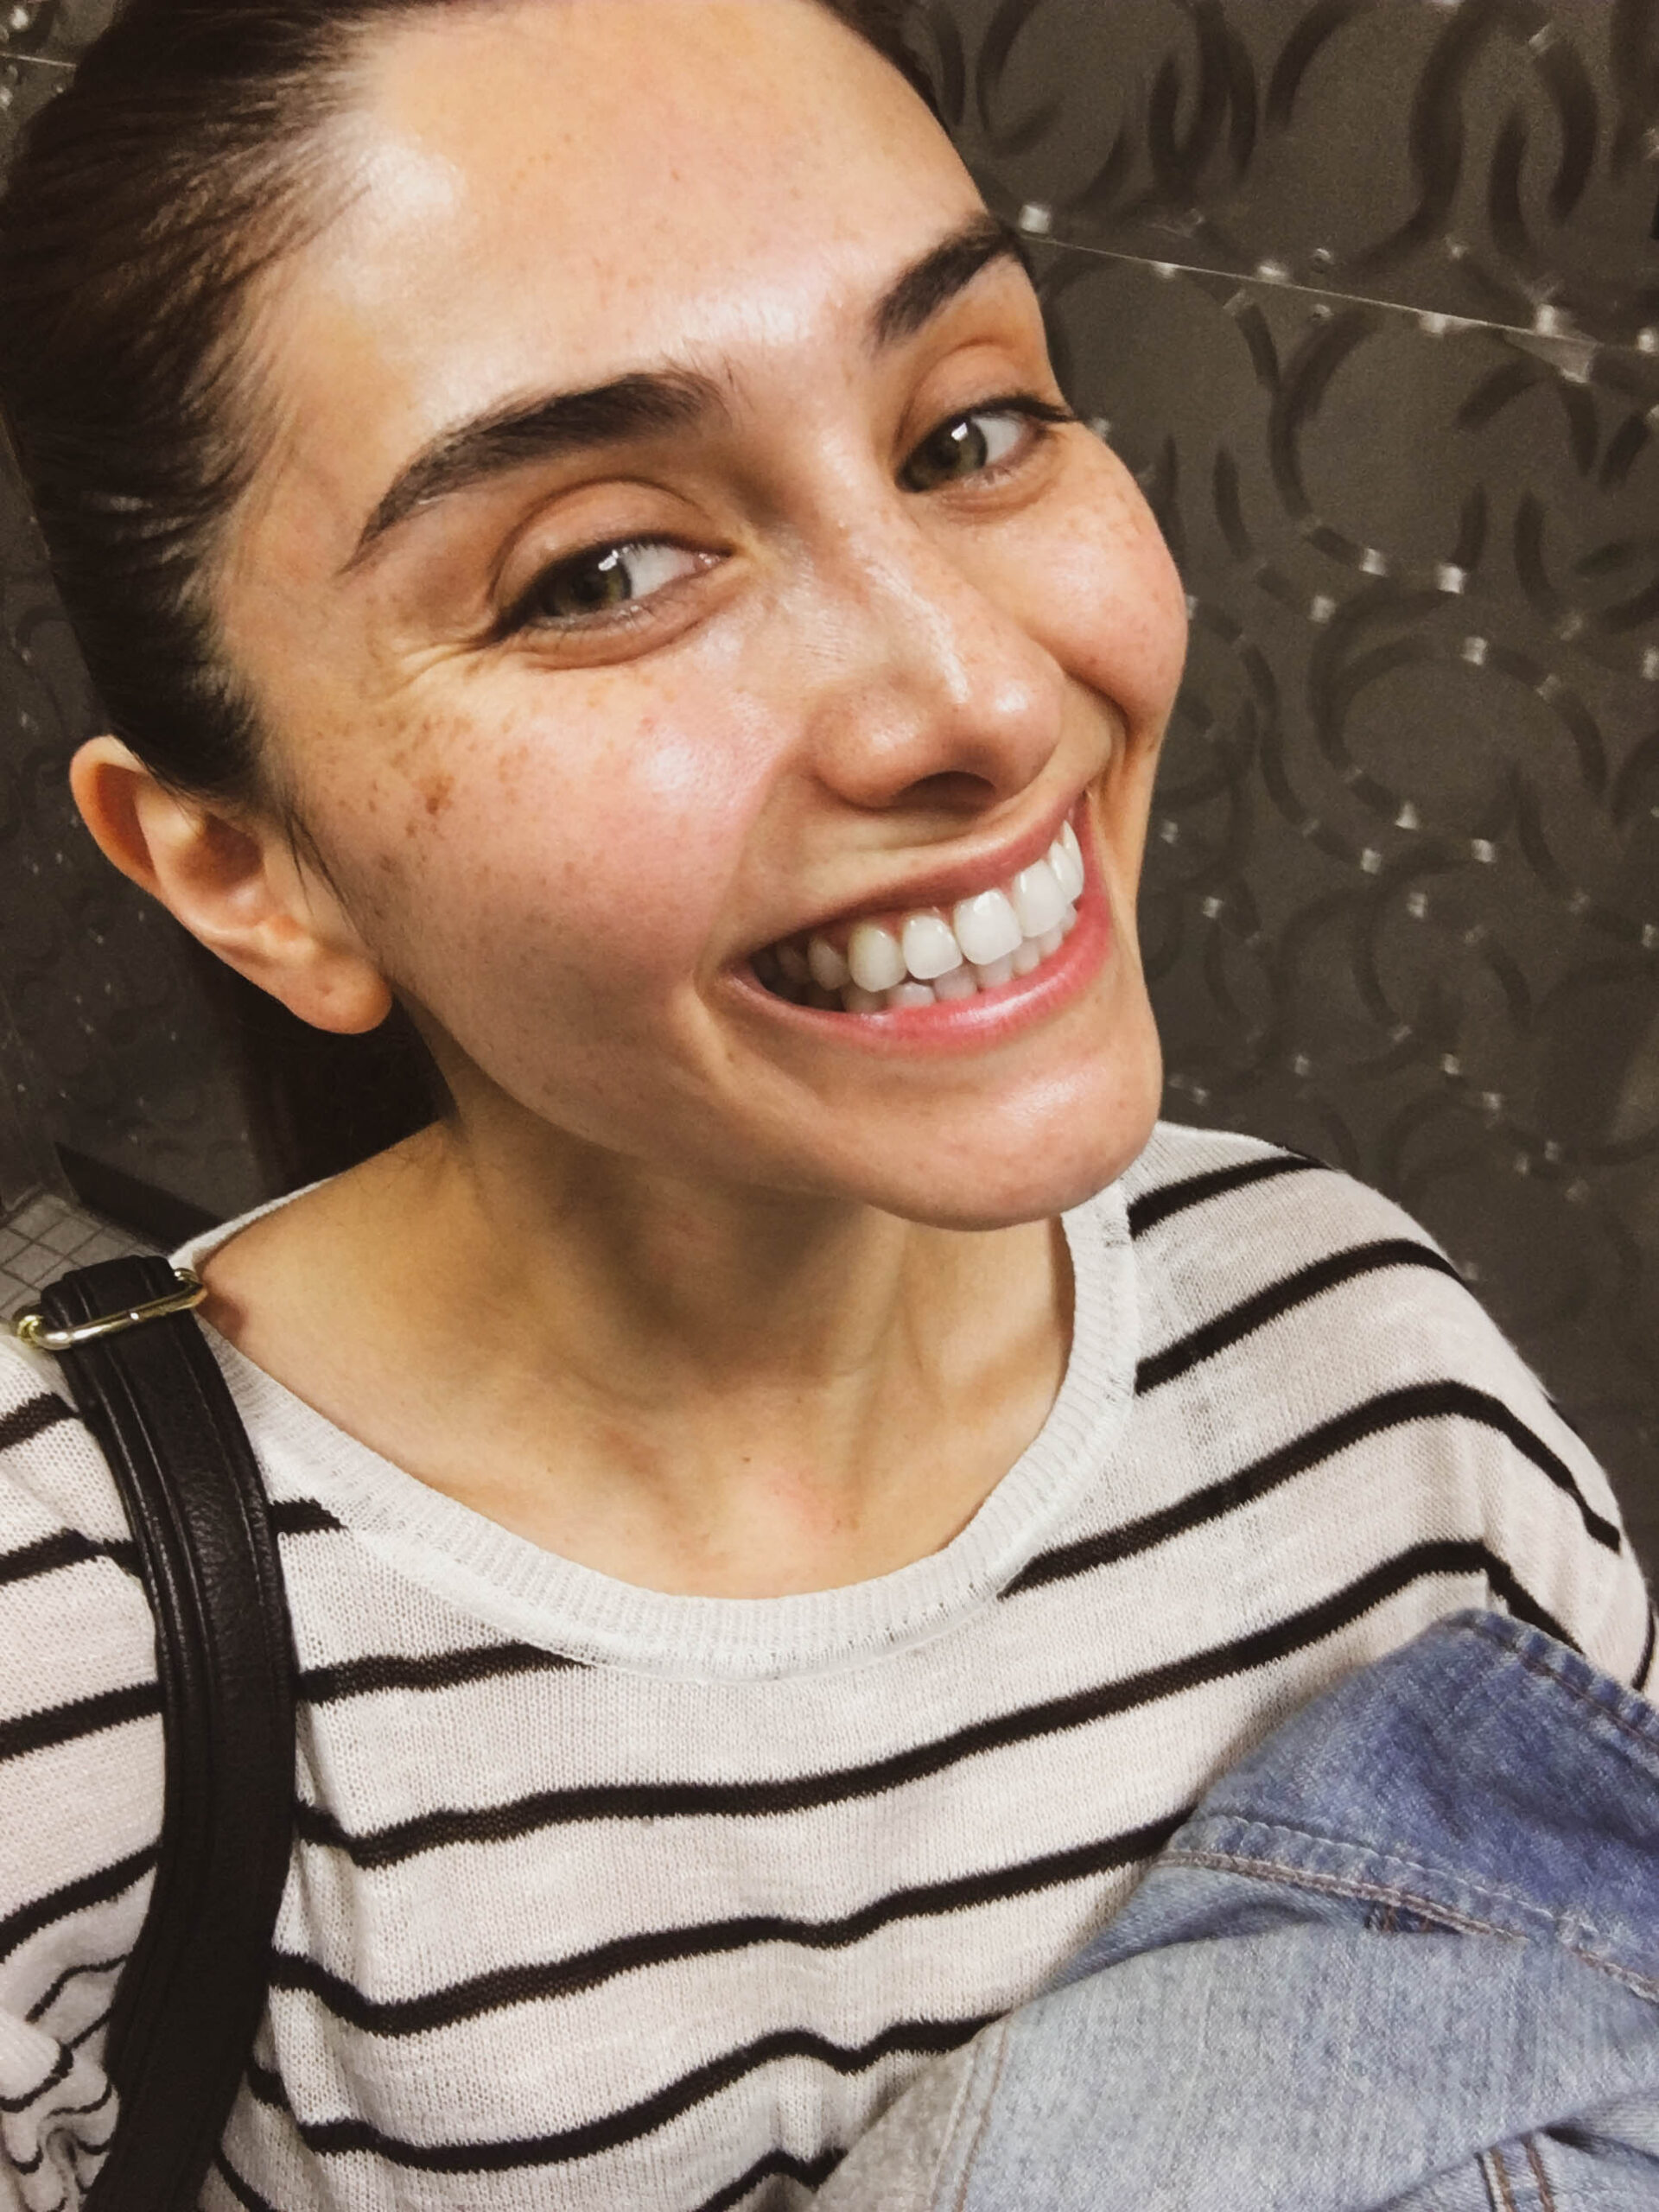
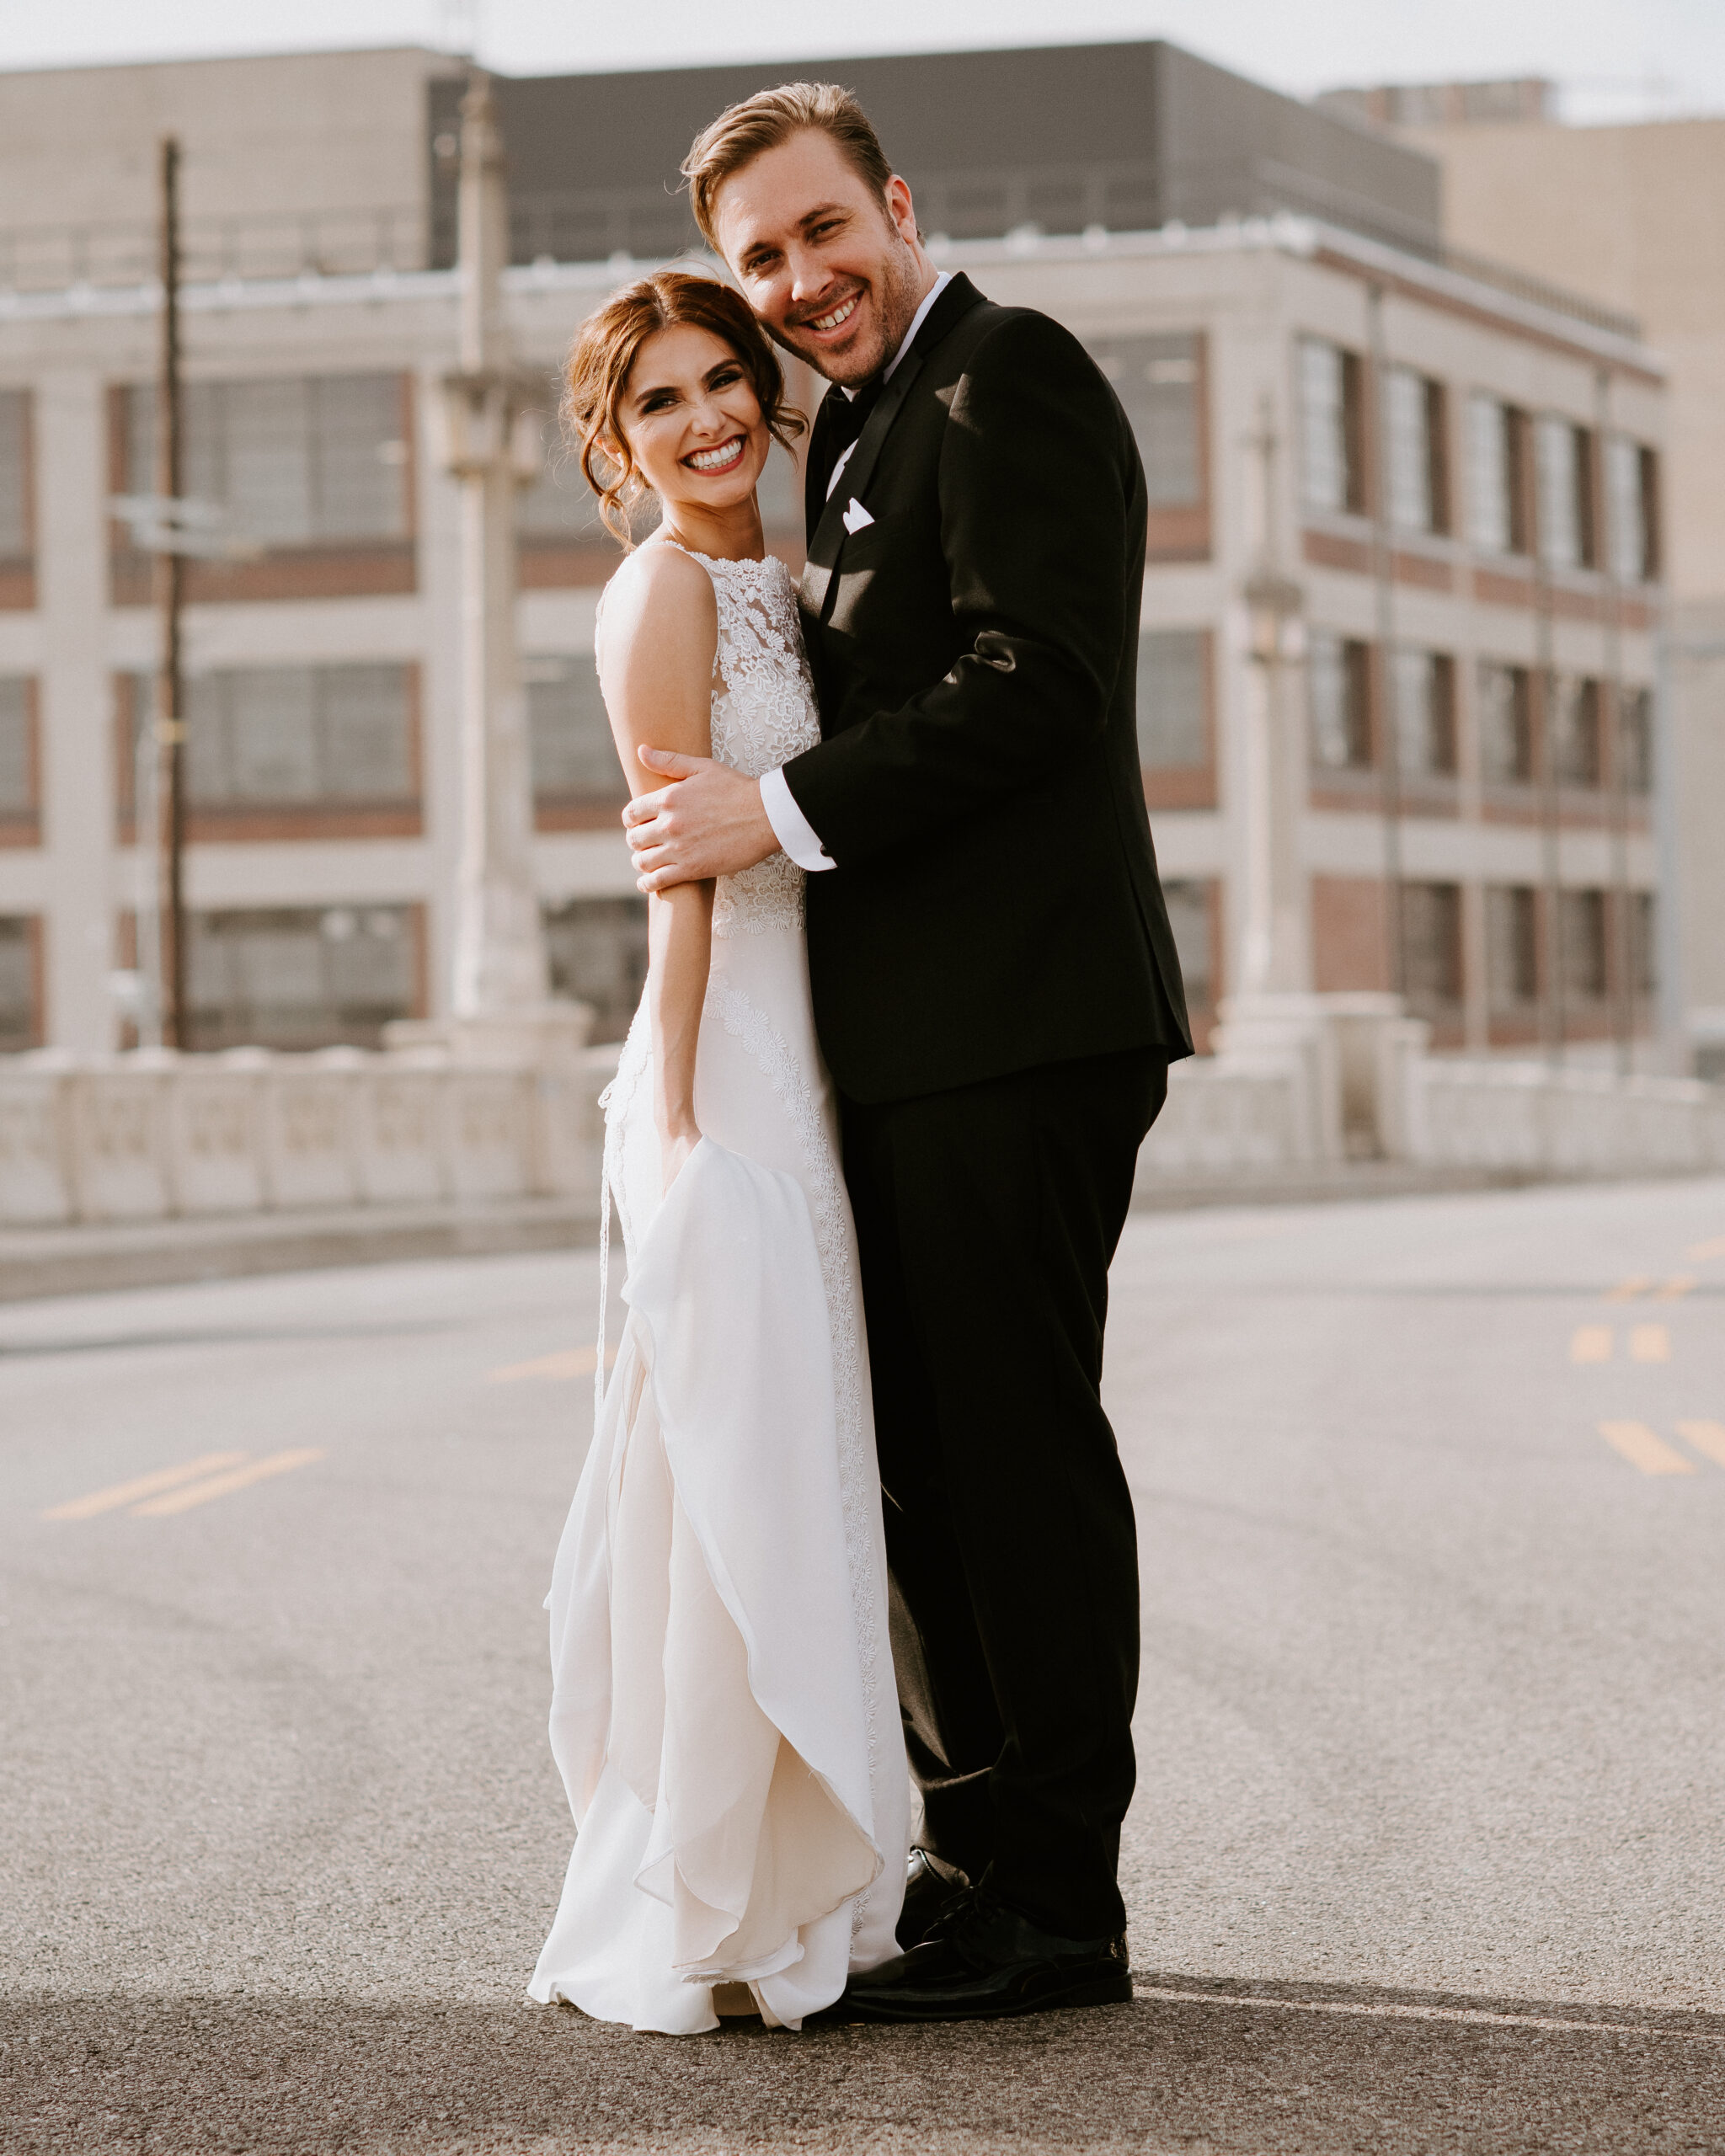
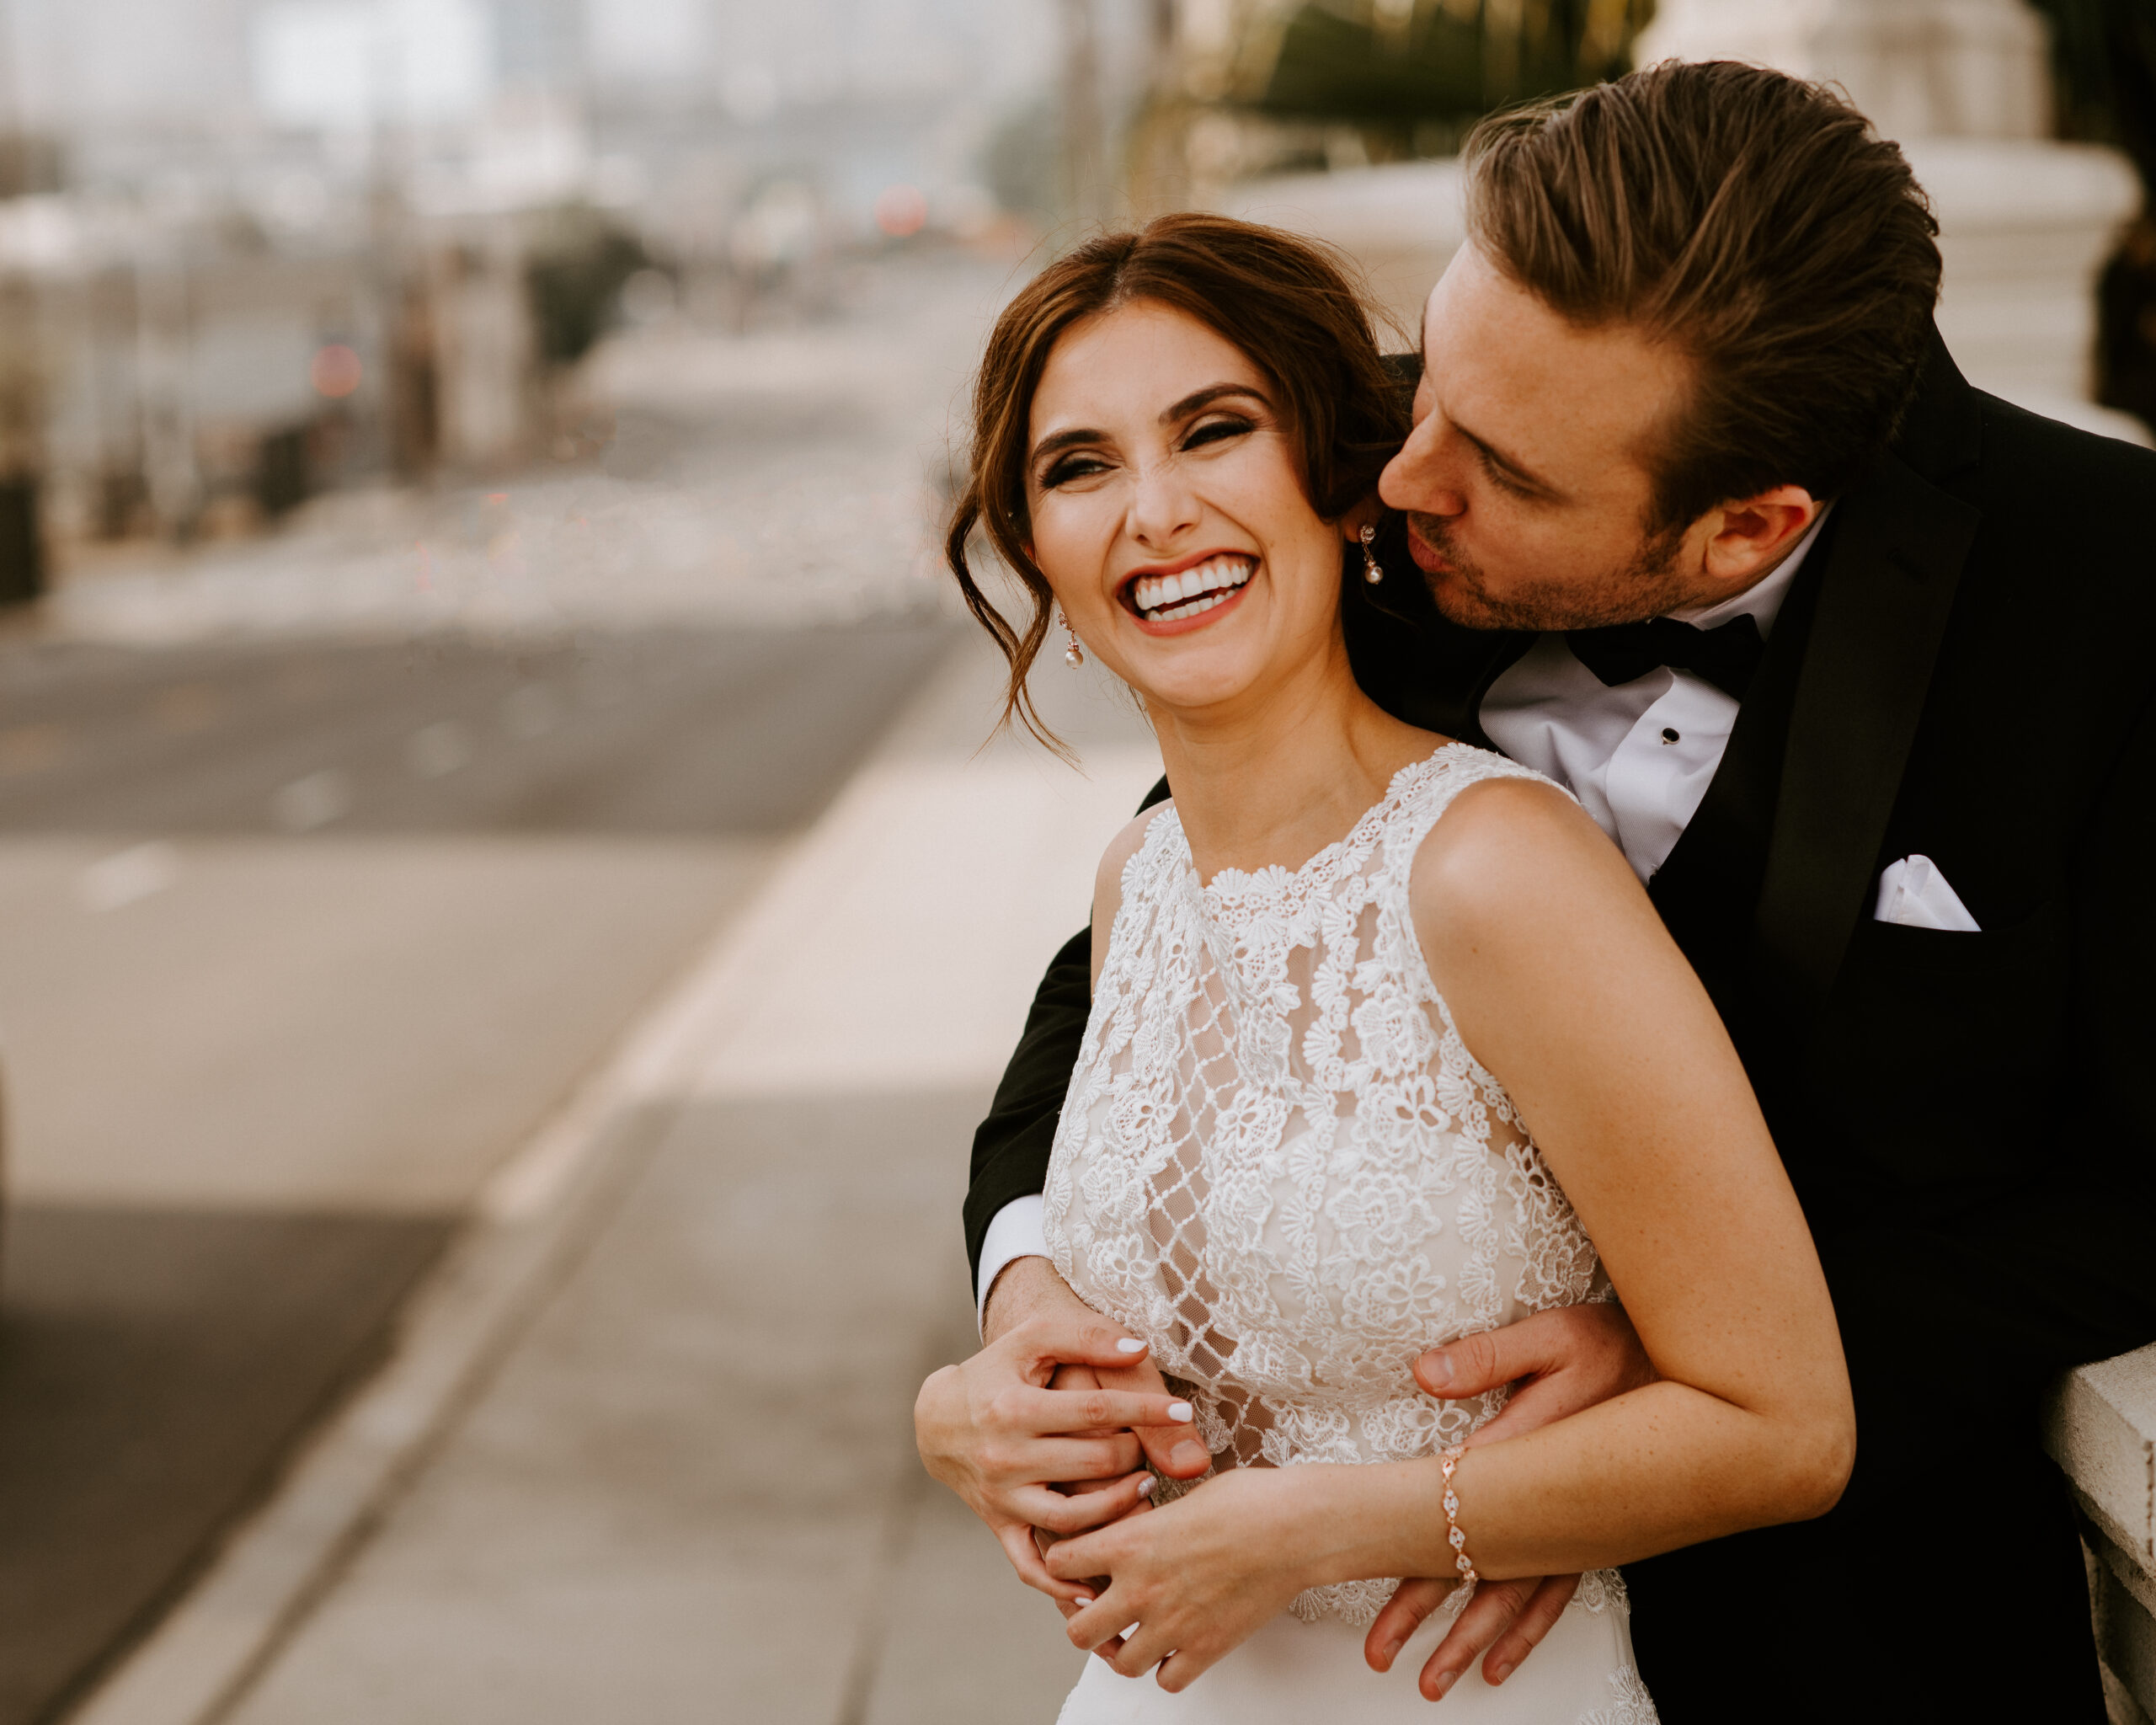
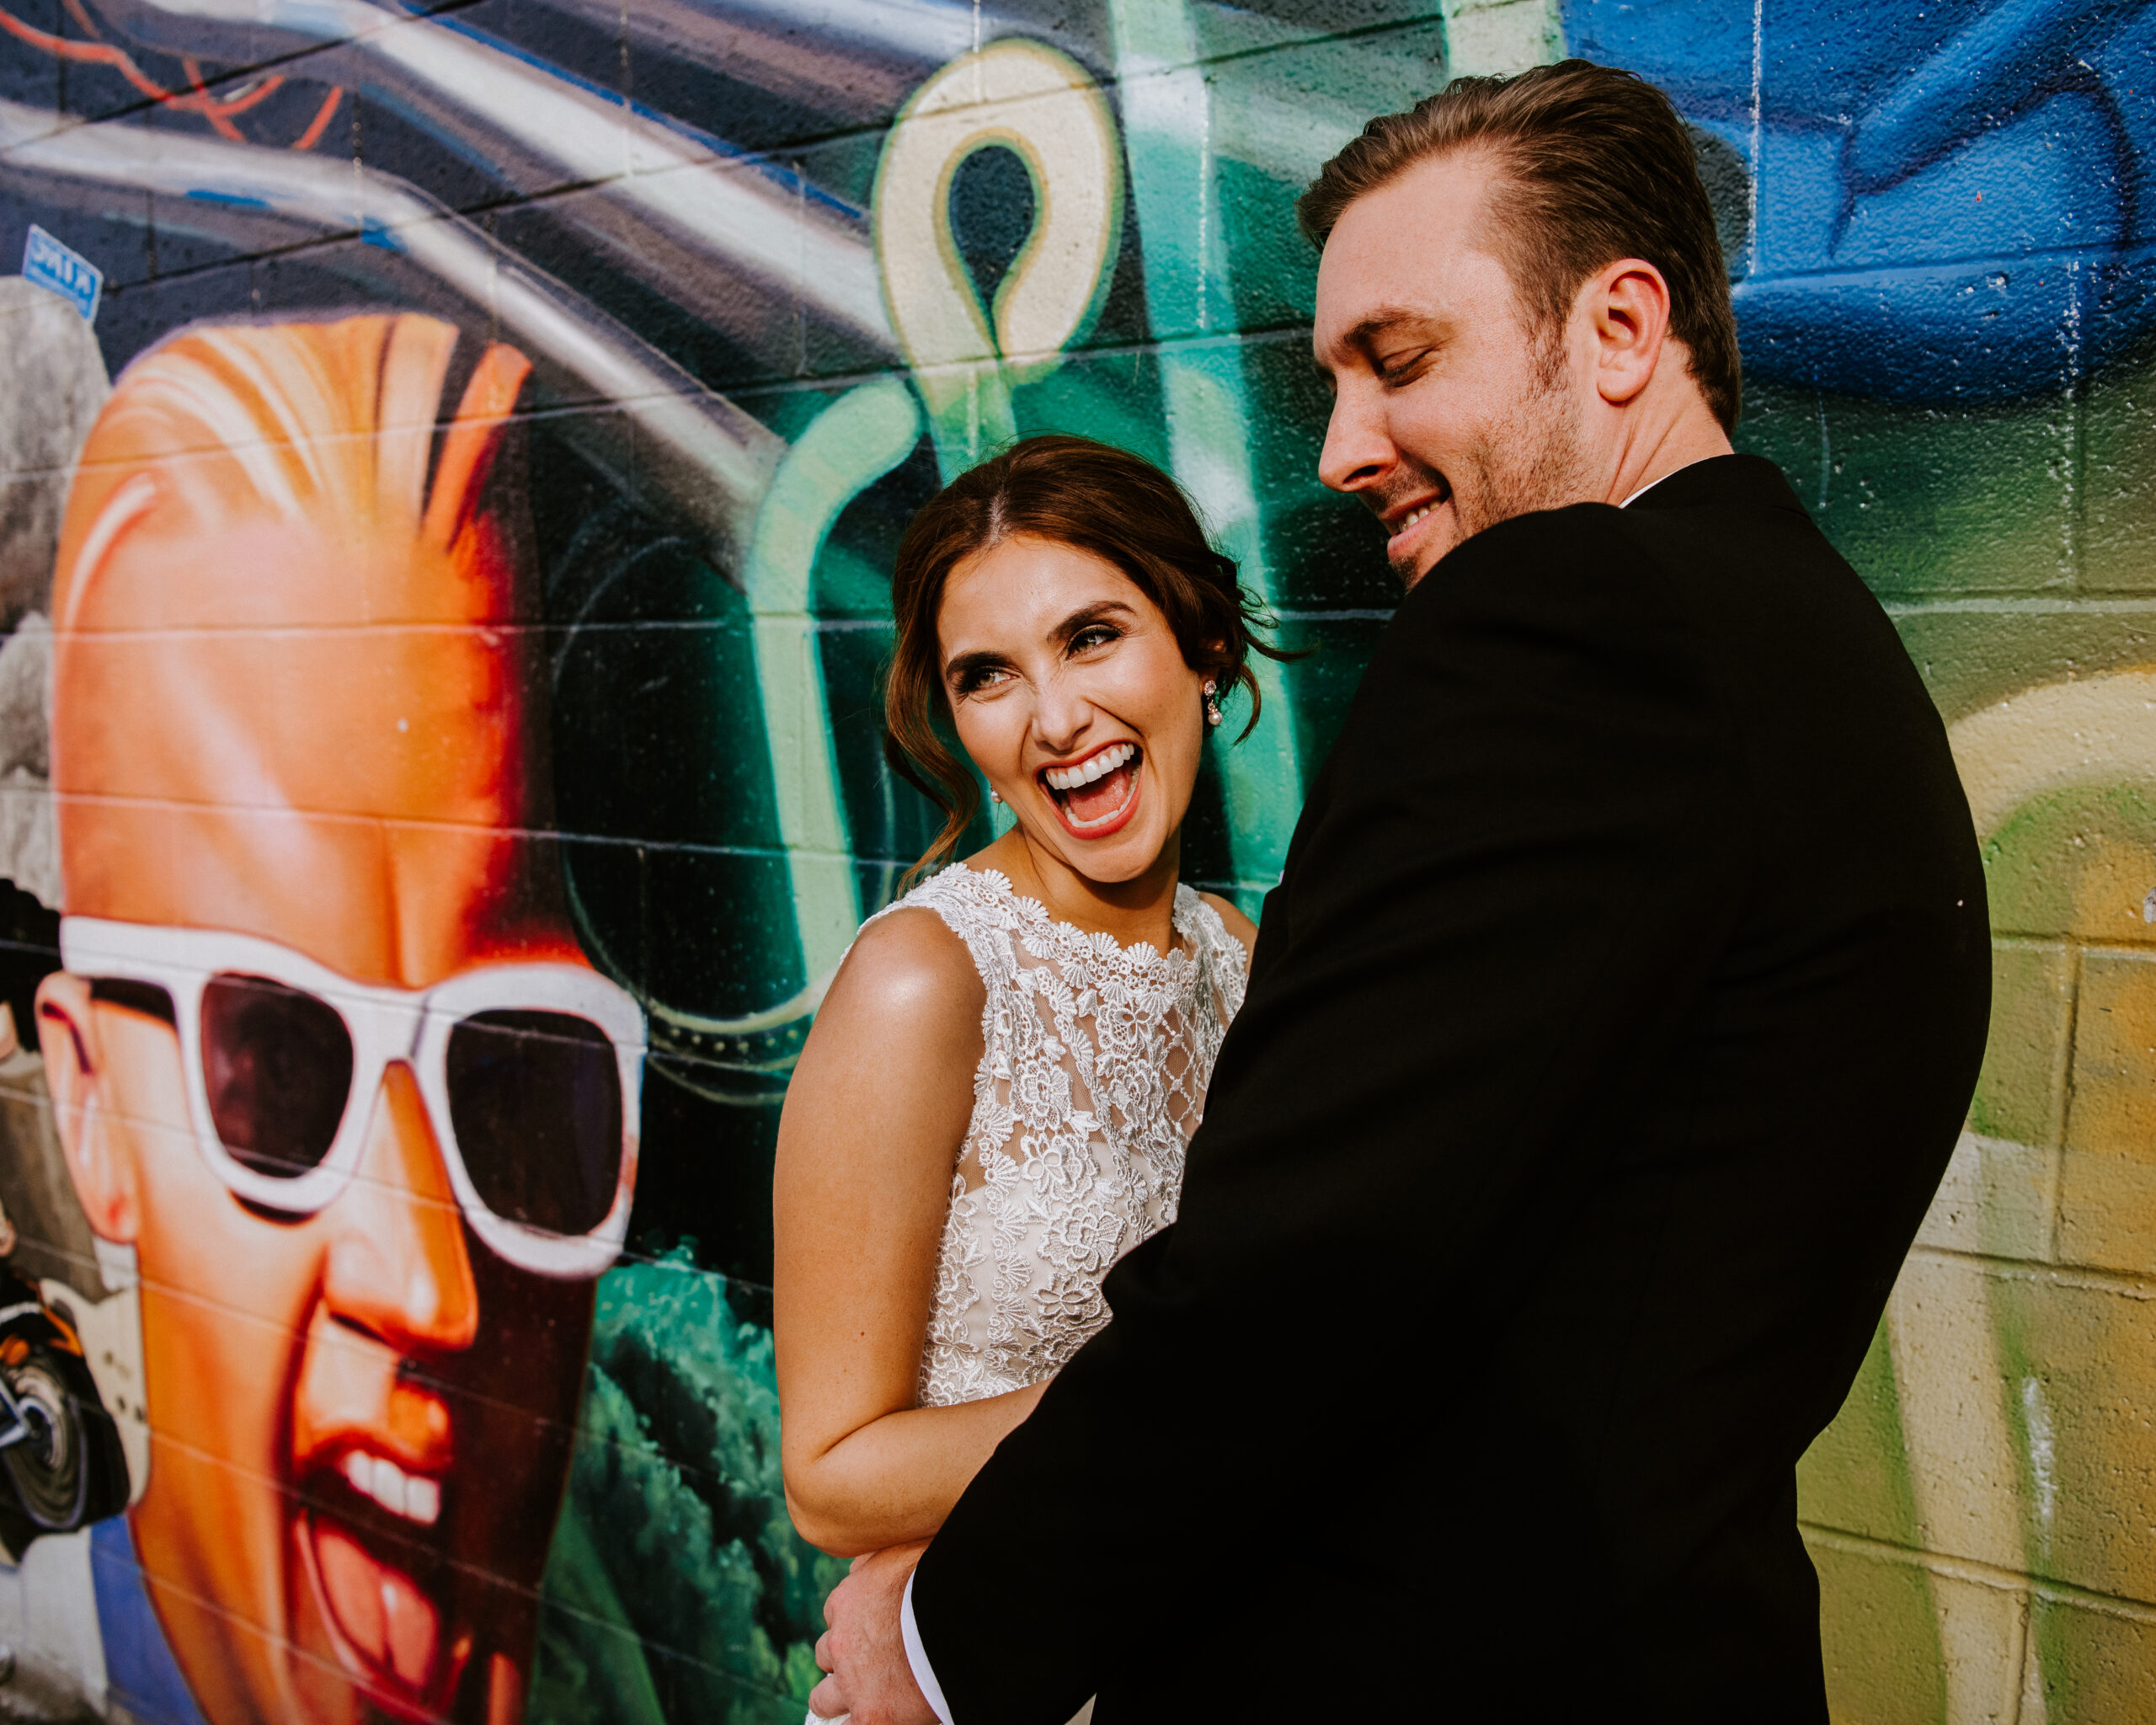
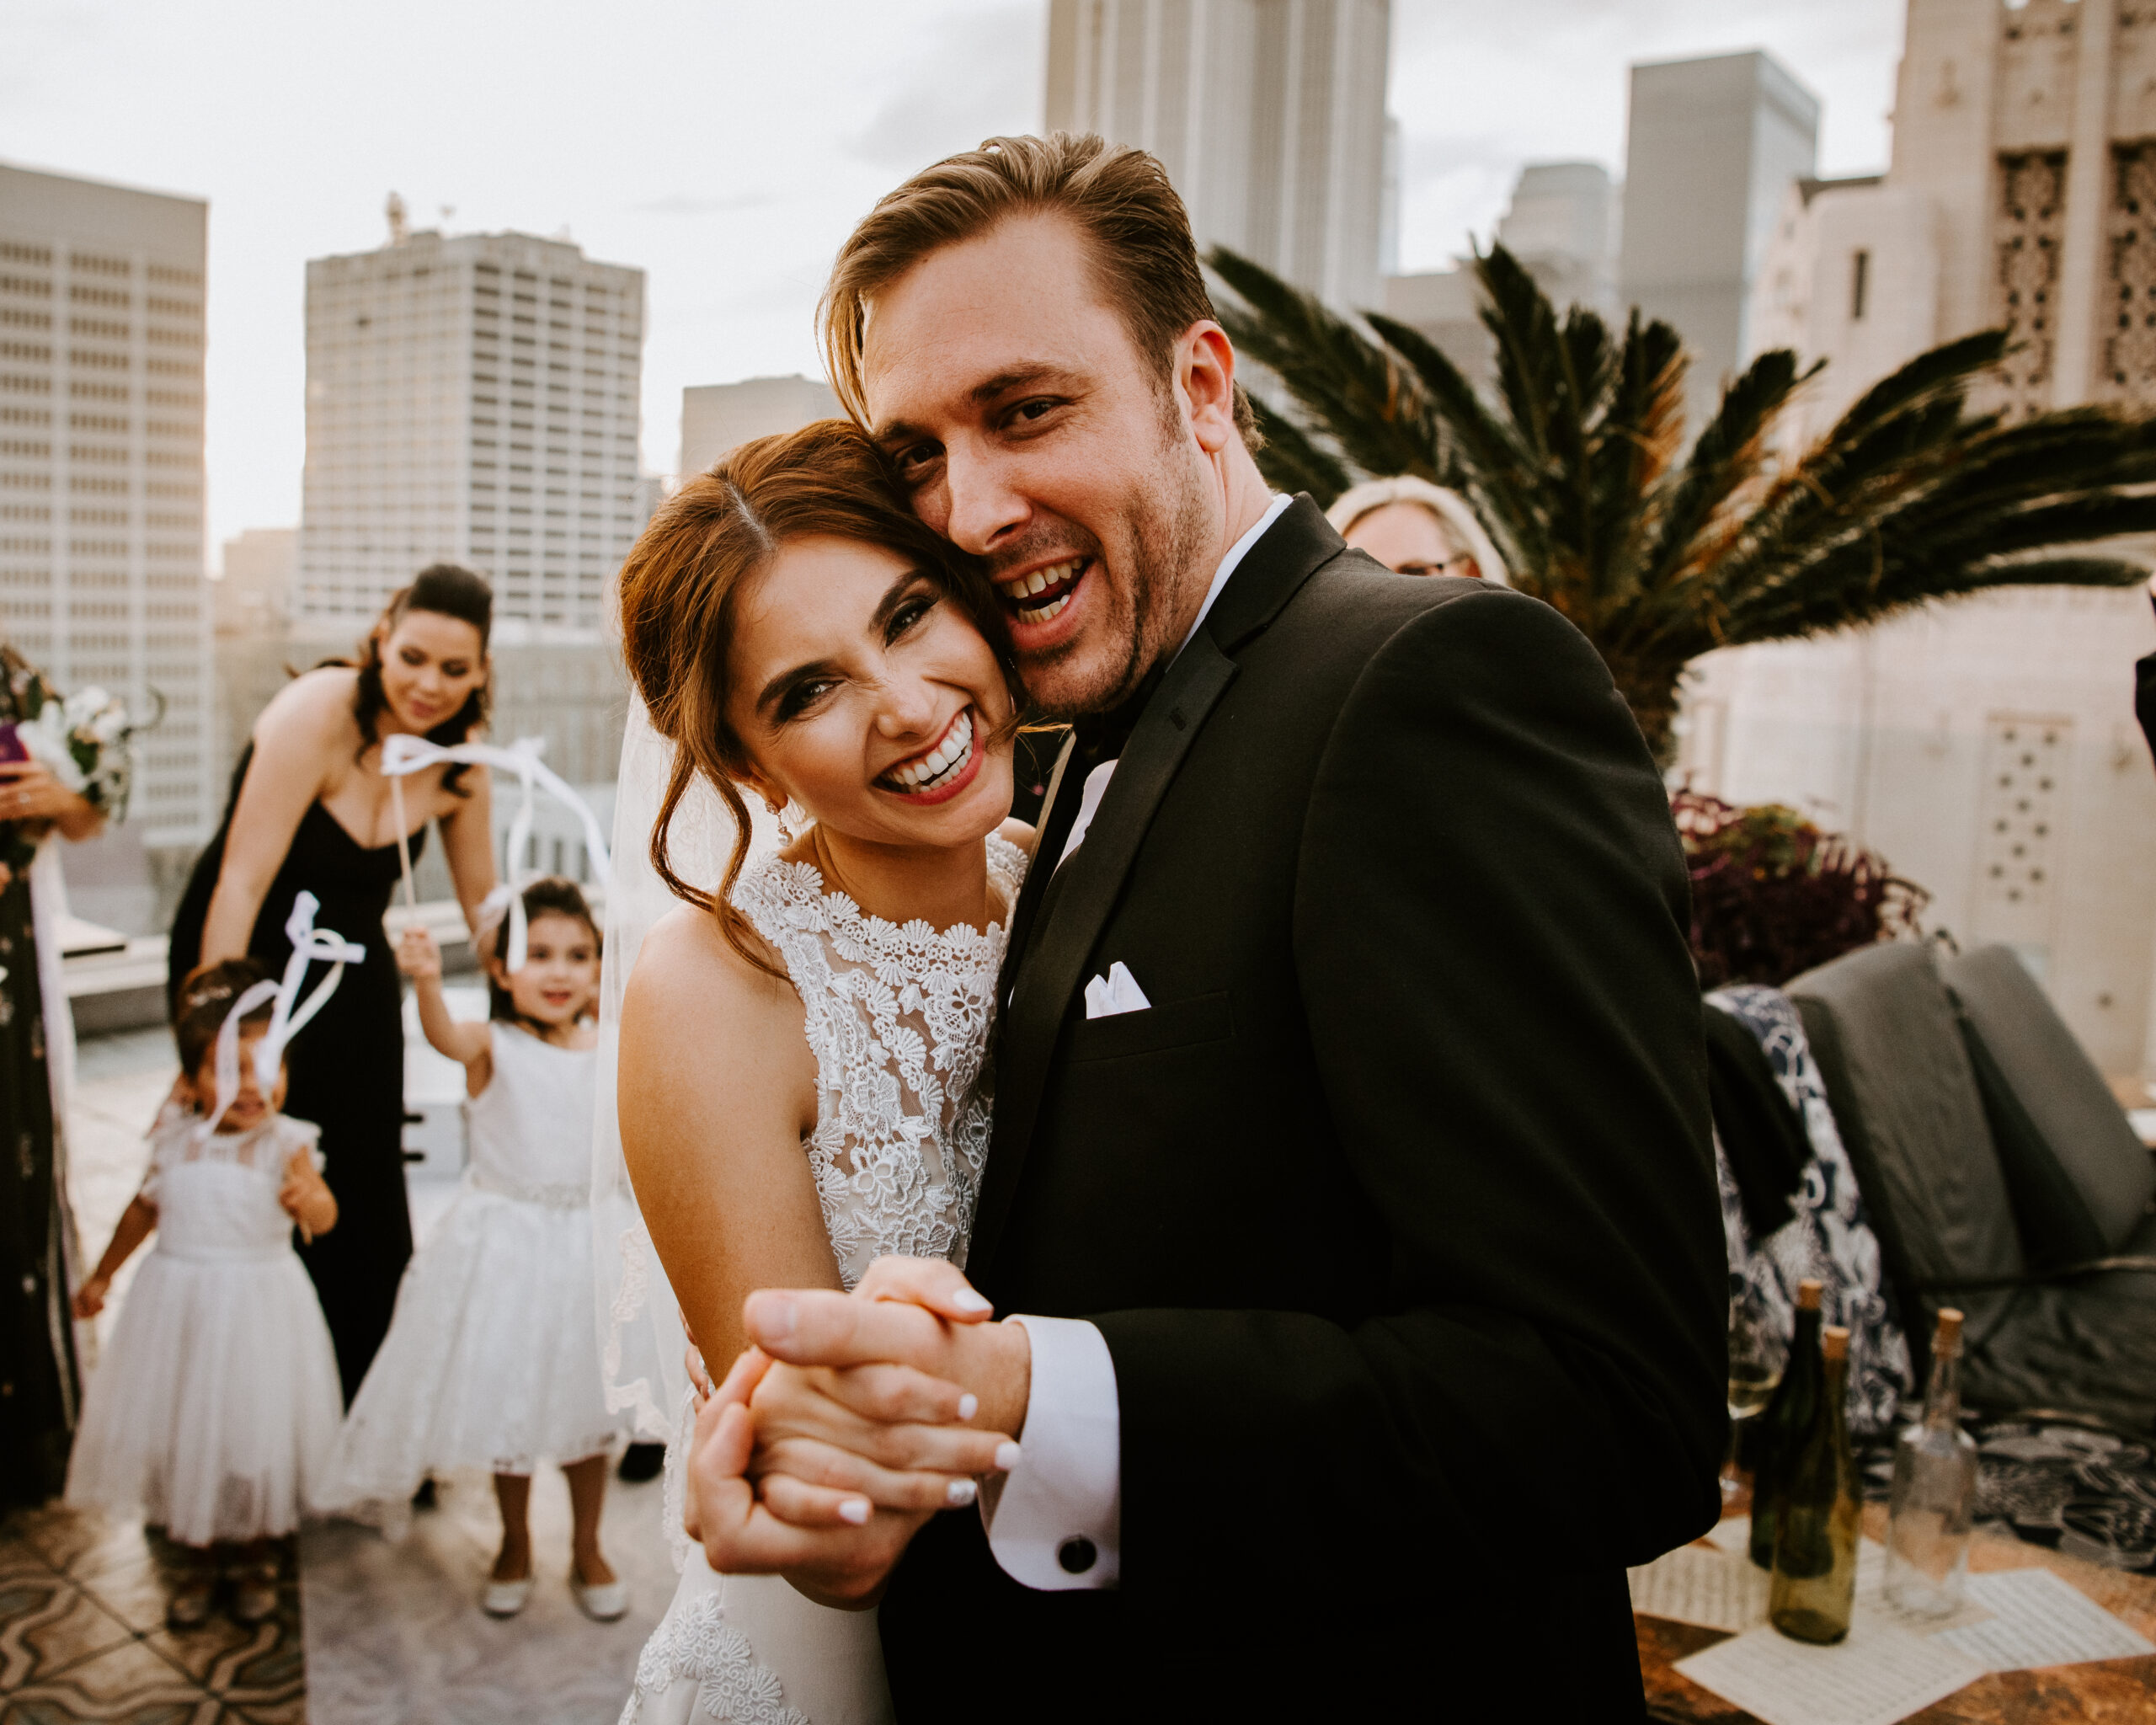
That’s right friends! Say hello to SMILE BRILLIANT, the most recommended teeth whitening process in America by dentists. Including mine! I was so excited when Smile Brilliant reached out to me because I was actually looking into whitening my teeth for the wedding. Years ago I’ve previously used over the counter whitening strips but never stayed consistent because they get messy, taste gross, makes me talk funny and takes a while to really notice a difference.
**Smile Brilliant Giveaway (Value $149) & a 15% off Coupon Code for everyone!
Scroll down to enter!**
Before I agreed to try out the product I did my research on Smile Brilliant, read reviews and it all came back positive. So, of course, I was in. Before sending me the whole kit & caboodle they wanted to make sure I checked with my dentist on the ingredients they were using and if it would be okay with my dental history. (I have a lot of fillings and some sensitivity around my gums)
The fact that Smile Brilliant wanted the okay from my own personal dentist actually made me feel more secure in using this product because they cared about me. My dentist approved and it seemed like the next day I received my Smile Brilliant package!
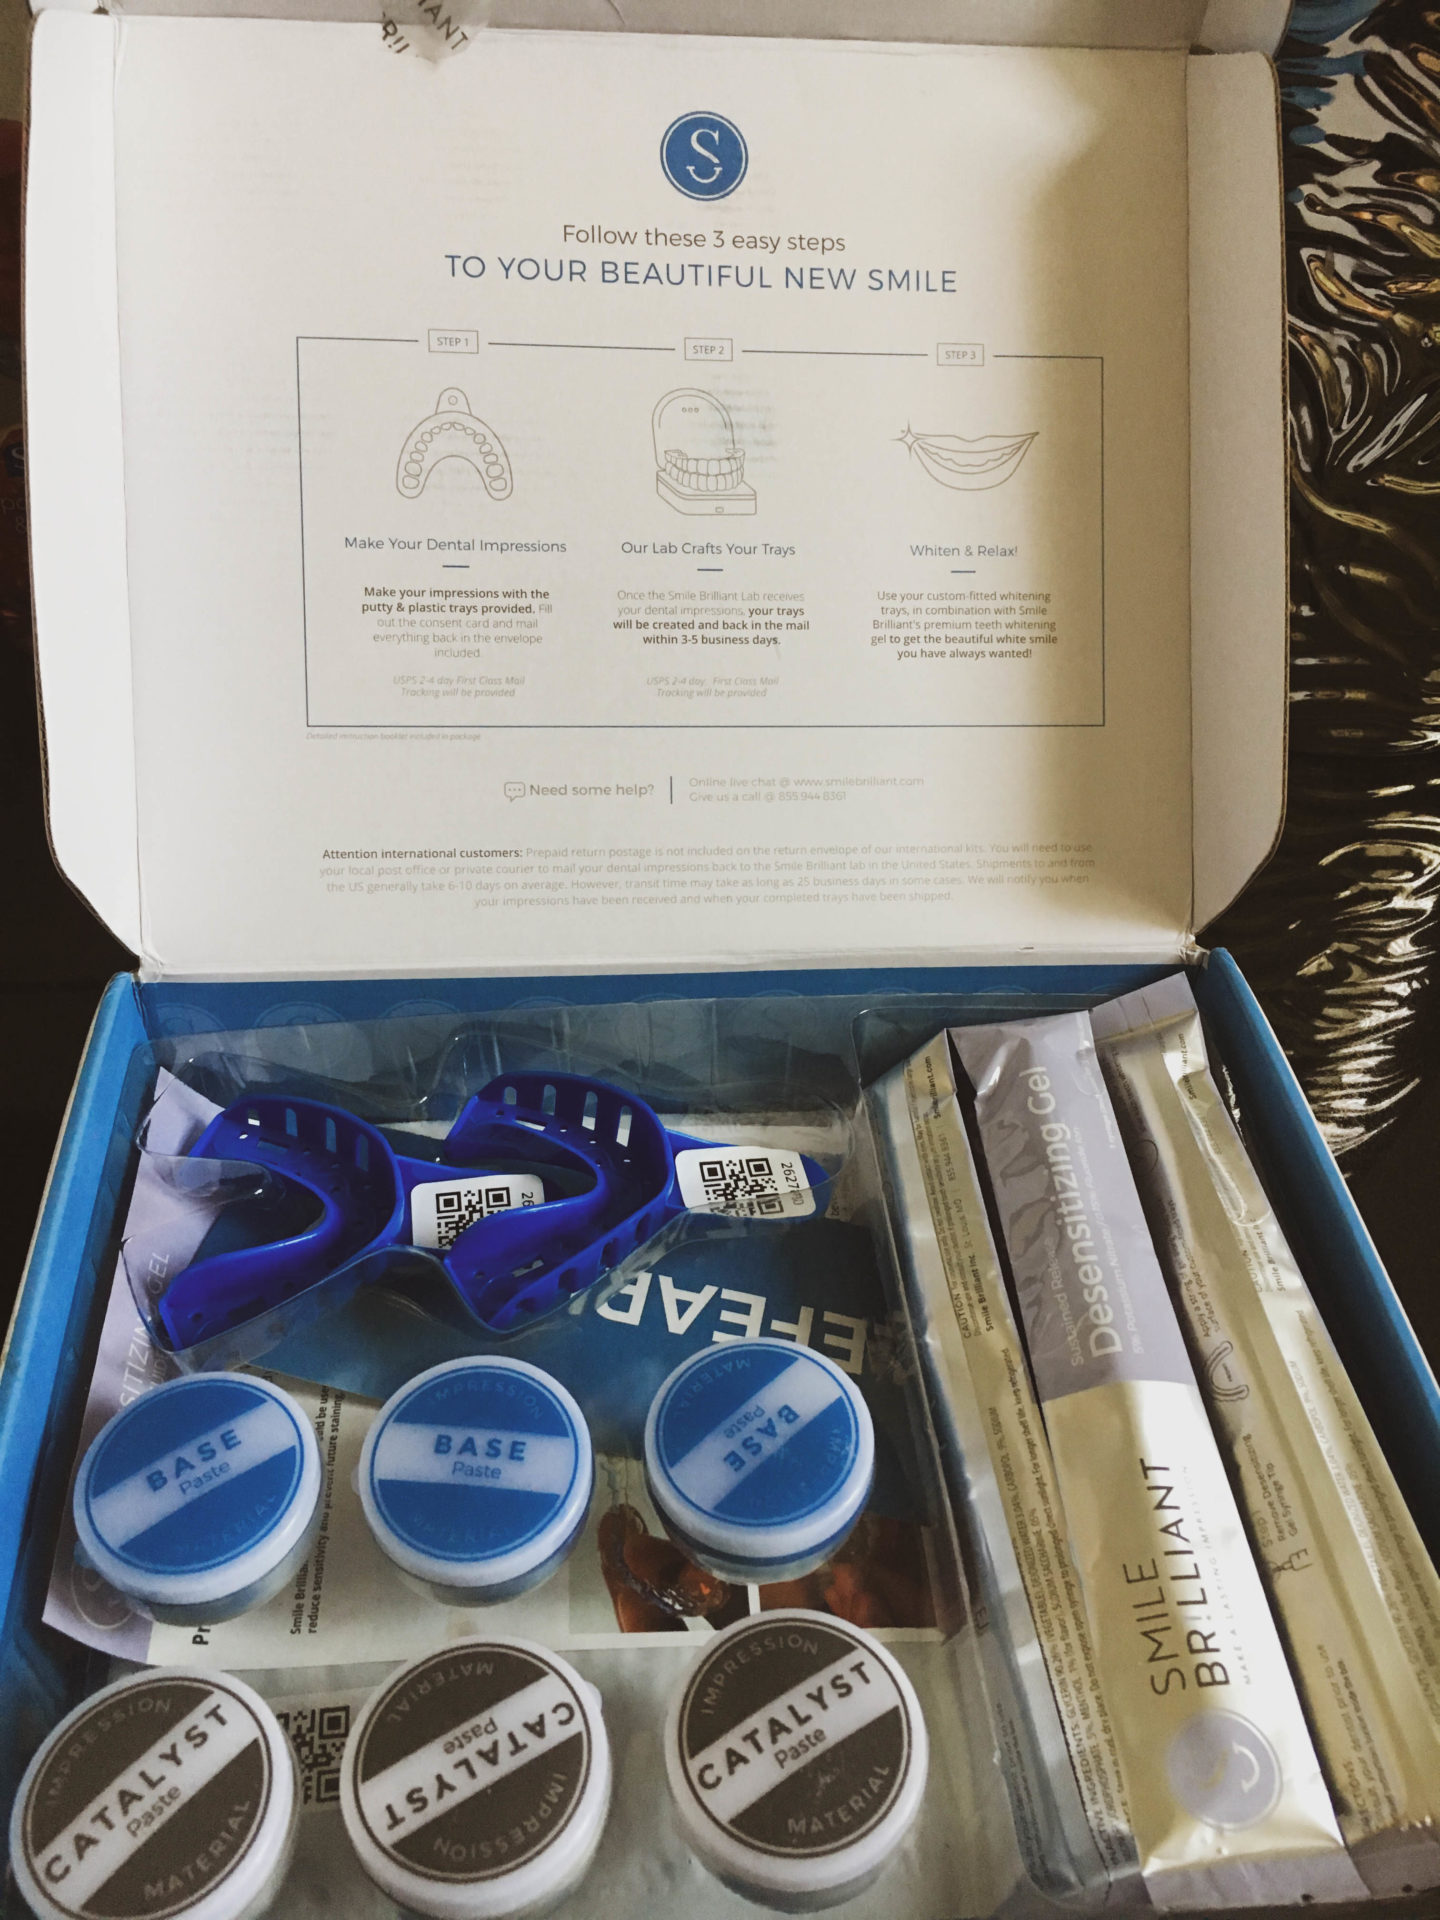
The first step was mixing the paste to make your dental impressions because you literally are getting custom-fitted trays. Now I love my dentist but I’ve looked into getting trays for whitening my teeth and let’s just say there’s a reason I passed….it can be pretty expensive.
All the directions on how to make the paste, what you need to do after, and the whitening process is all included in the kit. I will say making the impressions was a little hard for me. I think I was overthinking because in the directions it says something like “don’t let it dry” so I was rushing and freaking out BUT Smile Brilliant includes an extra paste just in case you mess up…. as I did. My paste harden before I could make the impressions but I was able to do it correctly the second time around. But if I can do it you can too.
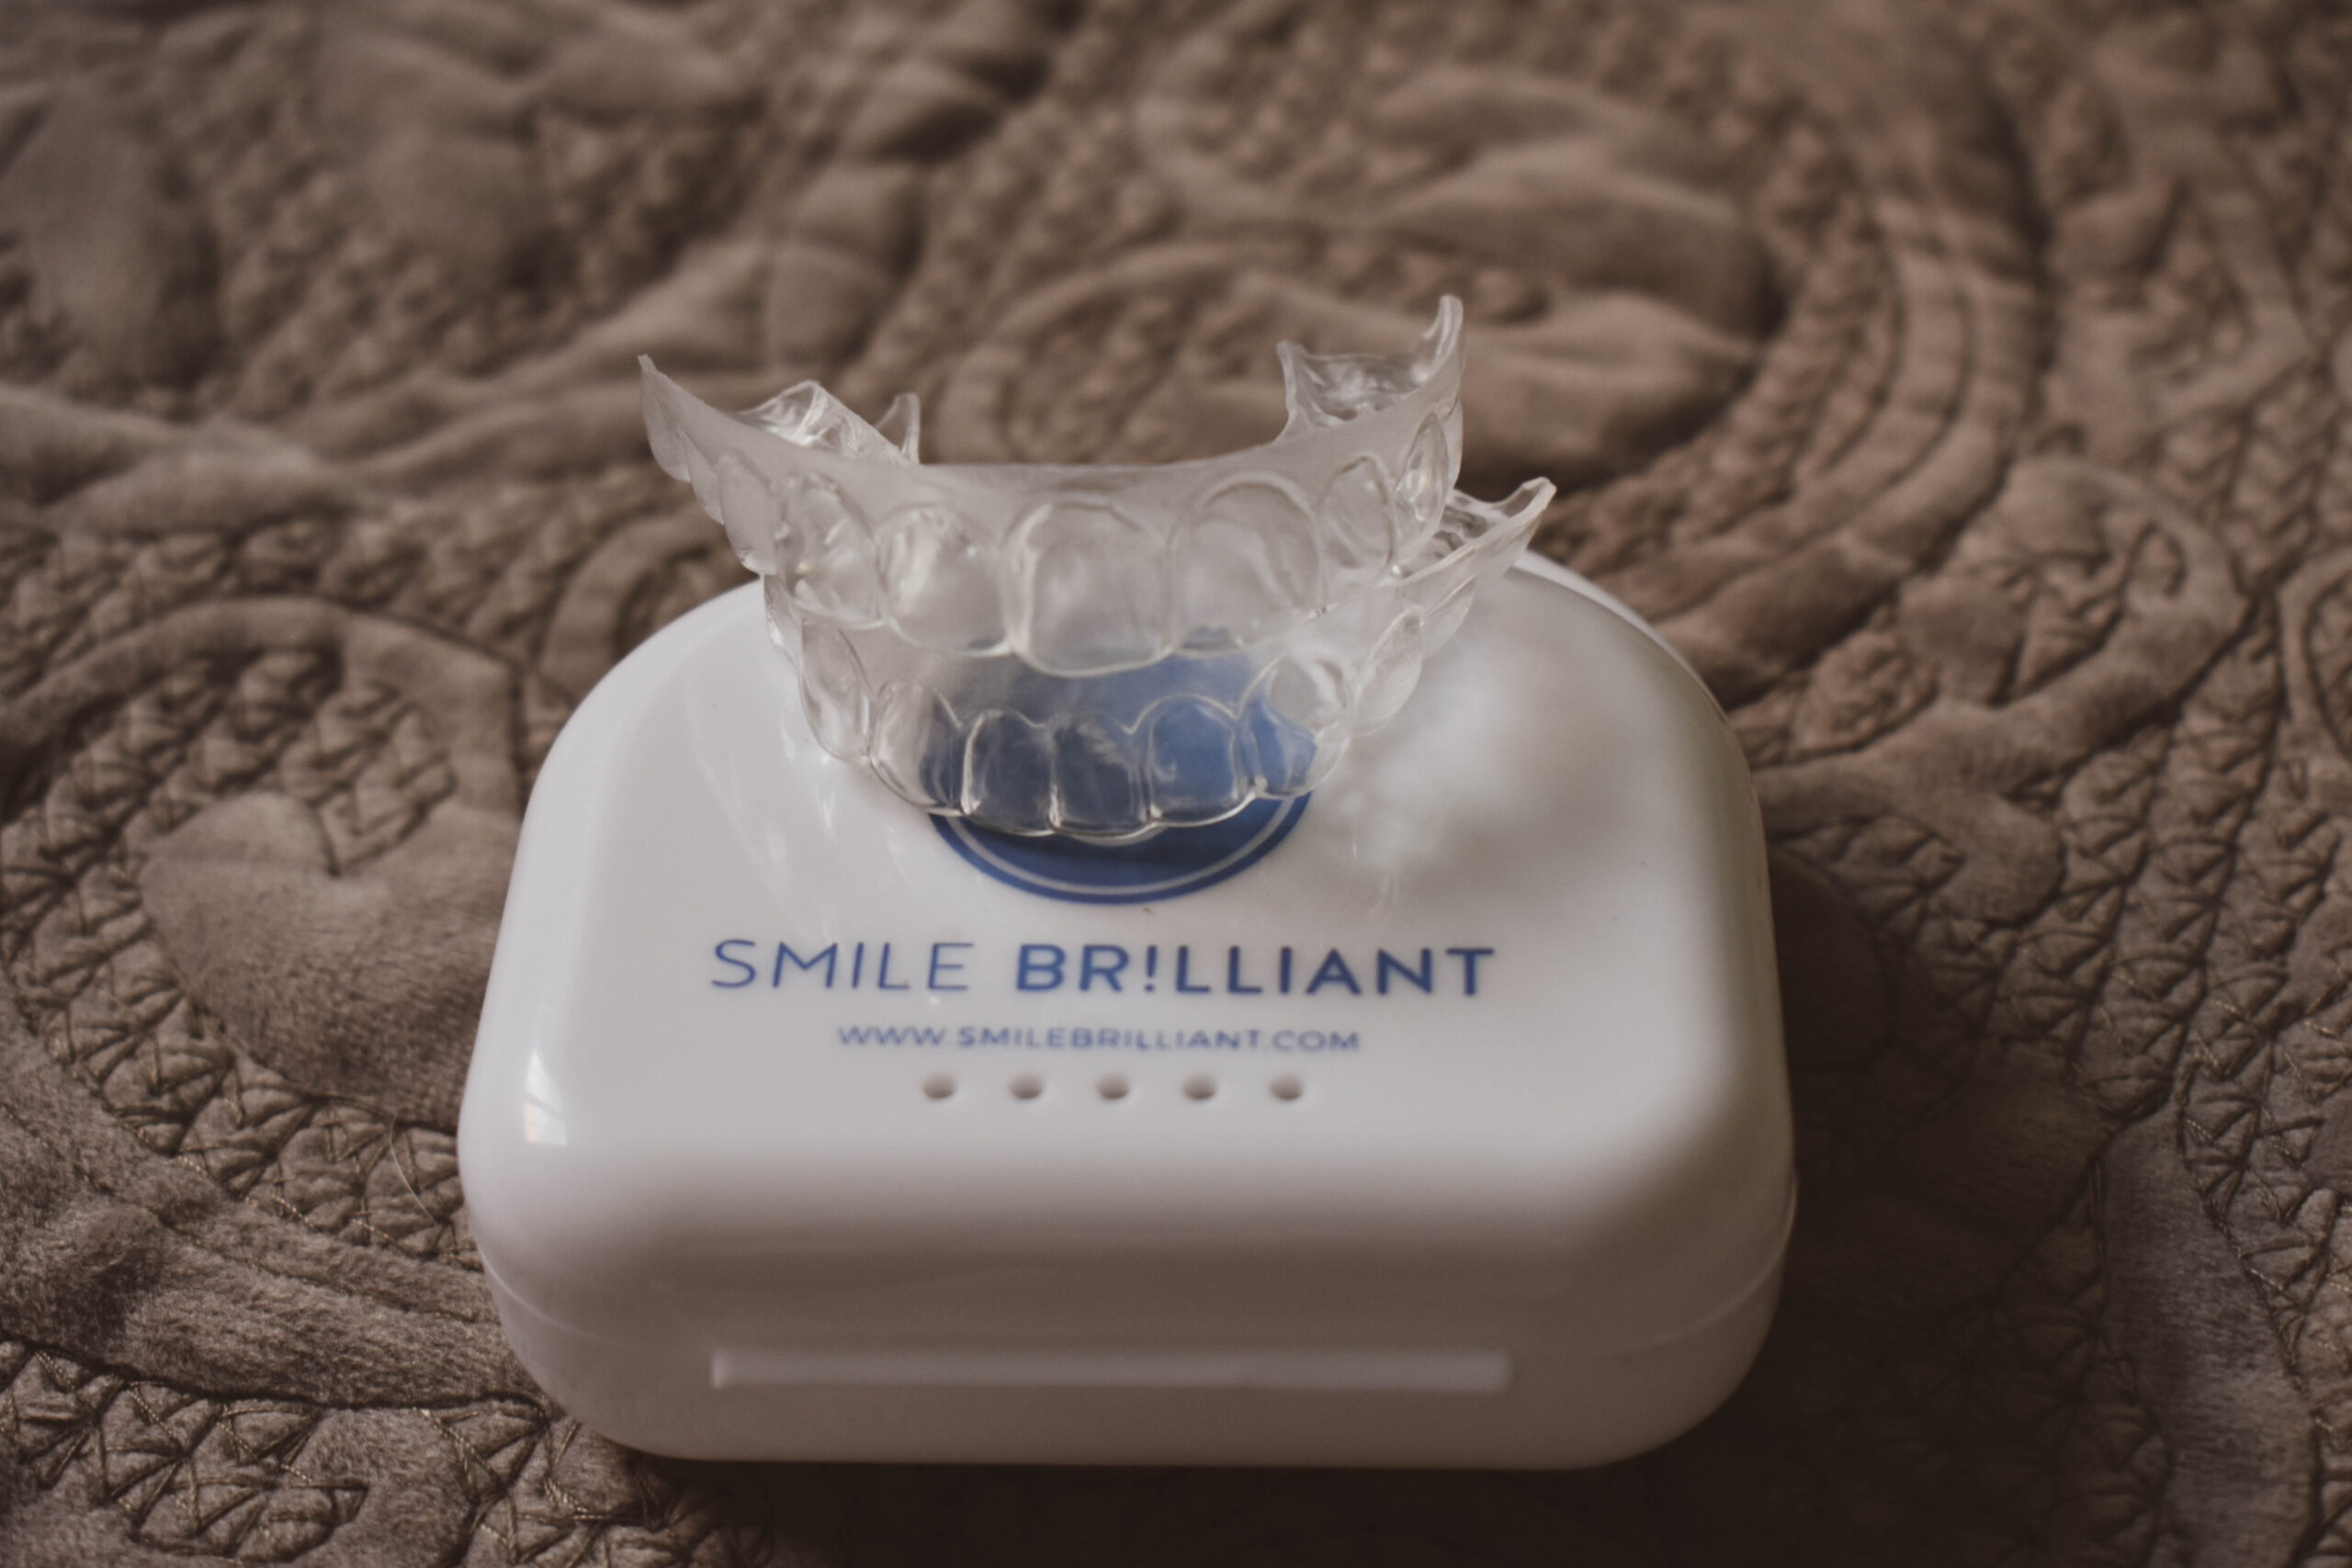
After making the impressions I mailed them out (mailing envelopes are included in the kit). After maybe 3 days I got my personalized trays! They fit perfectly and I was ready to start my teeth whitening process!
The best part of the Smile Brilliant Trays is actually being able to talk with the trays in your mouth. That was one of my pet peeves using over-the-counter whitening strips, I couldn’t go anywhere or talk.
QUESTIONS YOU MIGHT ASK…
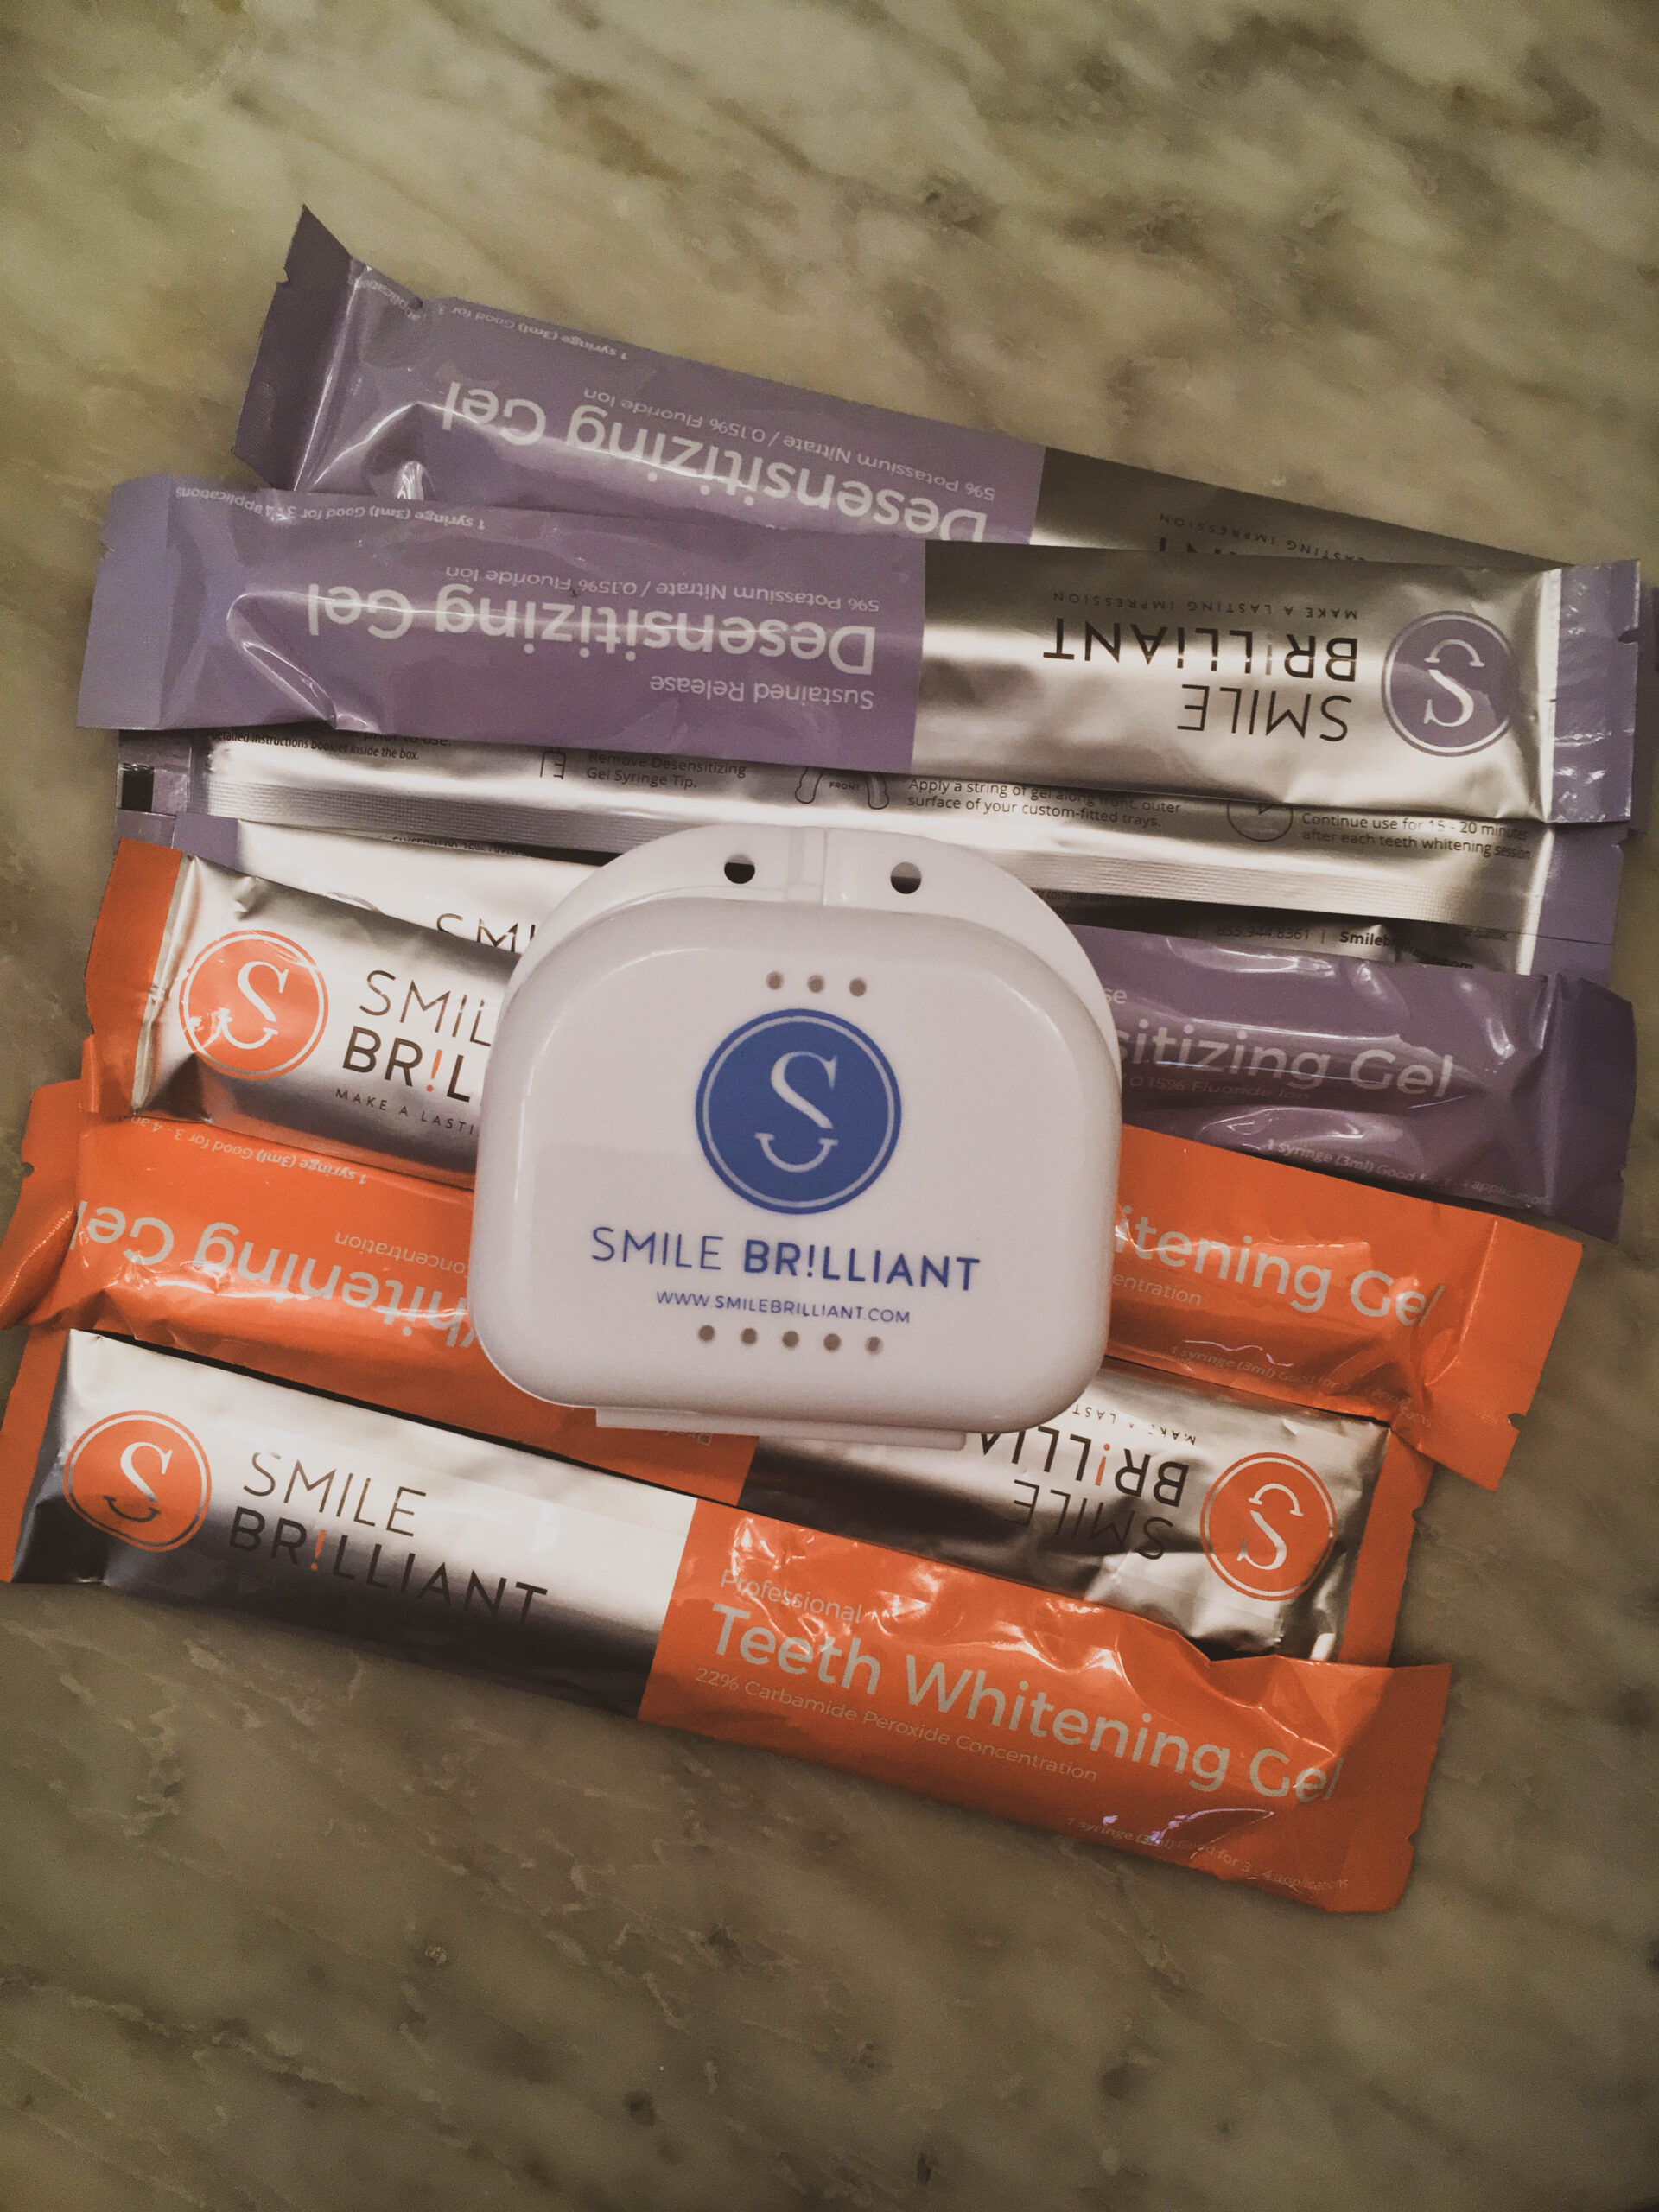
How long did I wear them for? I usually wore them for about 1 hr, sometimes shorter if I had a tighter schedule. If you are worried about sensitivity the kit includes desensitizing gel but I never had to use them. Which surprised me because I do have some sensitivity around my gums but never need it to apply it.
When did you notice a difference? Right away, seriously. After my first application, no joke someone gave me a compliment about how white my teeth were. Now starting this process, I had fairly white teeth but I am a hardcore coffee drinker so the upper part of my teeth and my back teeth showed more yellow stains. That was another issue I had with strips because they didn’t cover all your teeth it was primarily just the front, noticeable teeth. With Smile Brilliant trays it covers all your teeth.
For a month, every other day, or sometimes every two days I whitened my teeth. Every time noticing a difference. I actually haven’t finished all the applications because I’m pretty happy with my teeth color so I’m saving one for later.
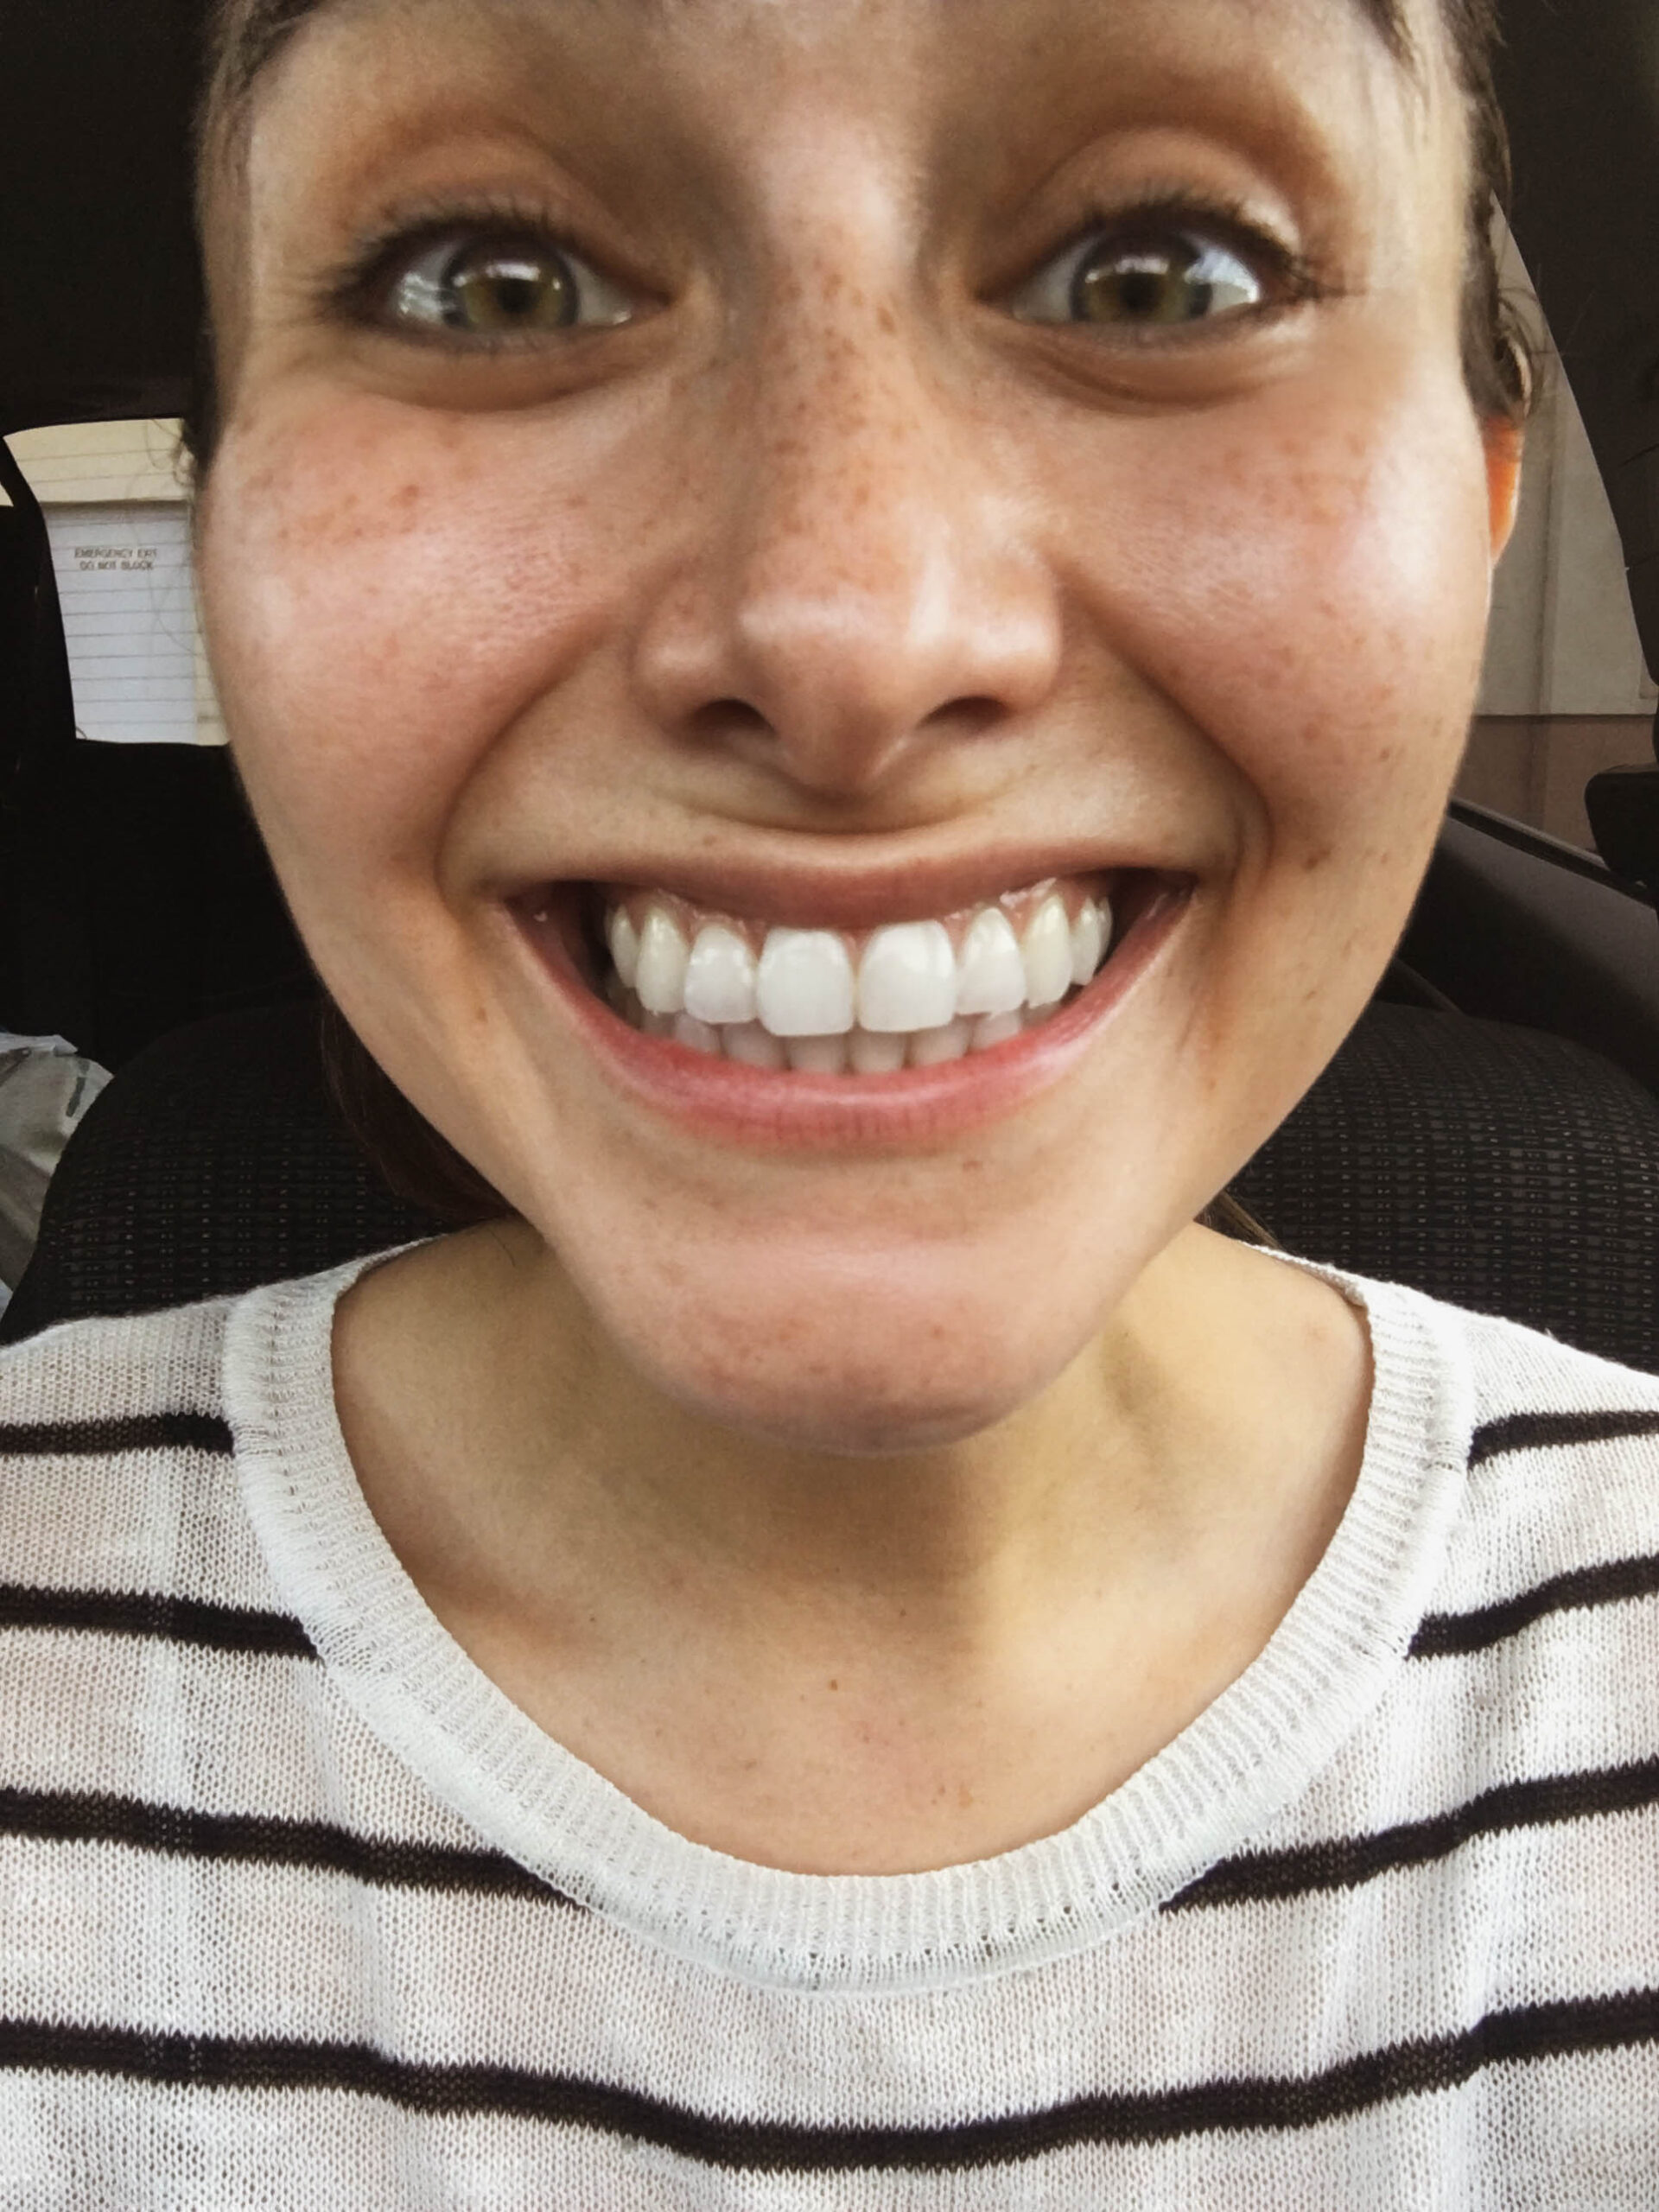
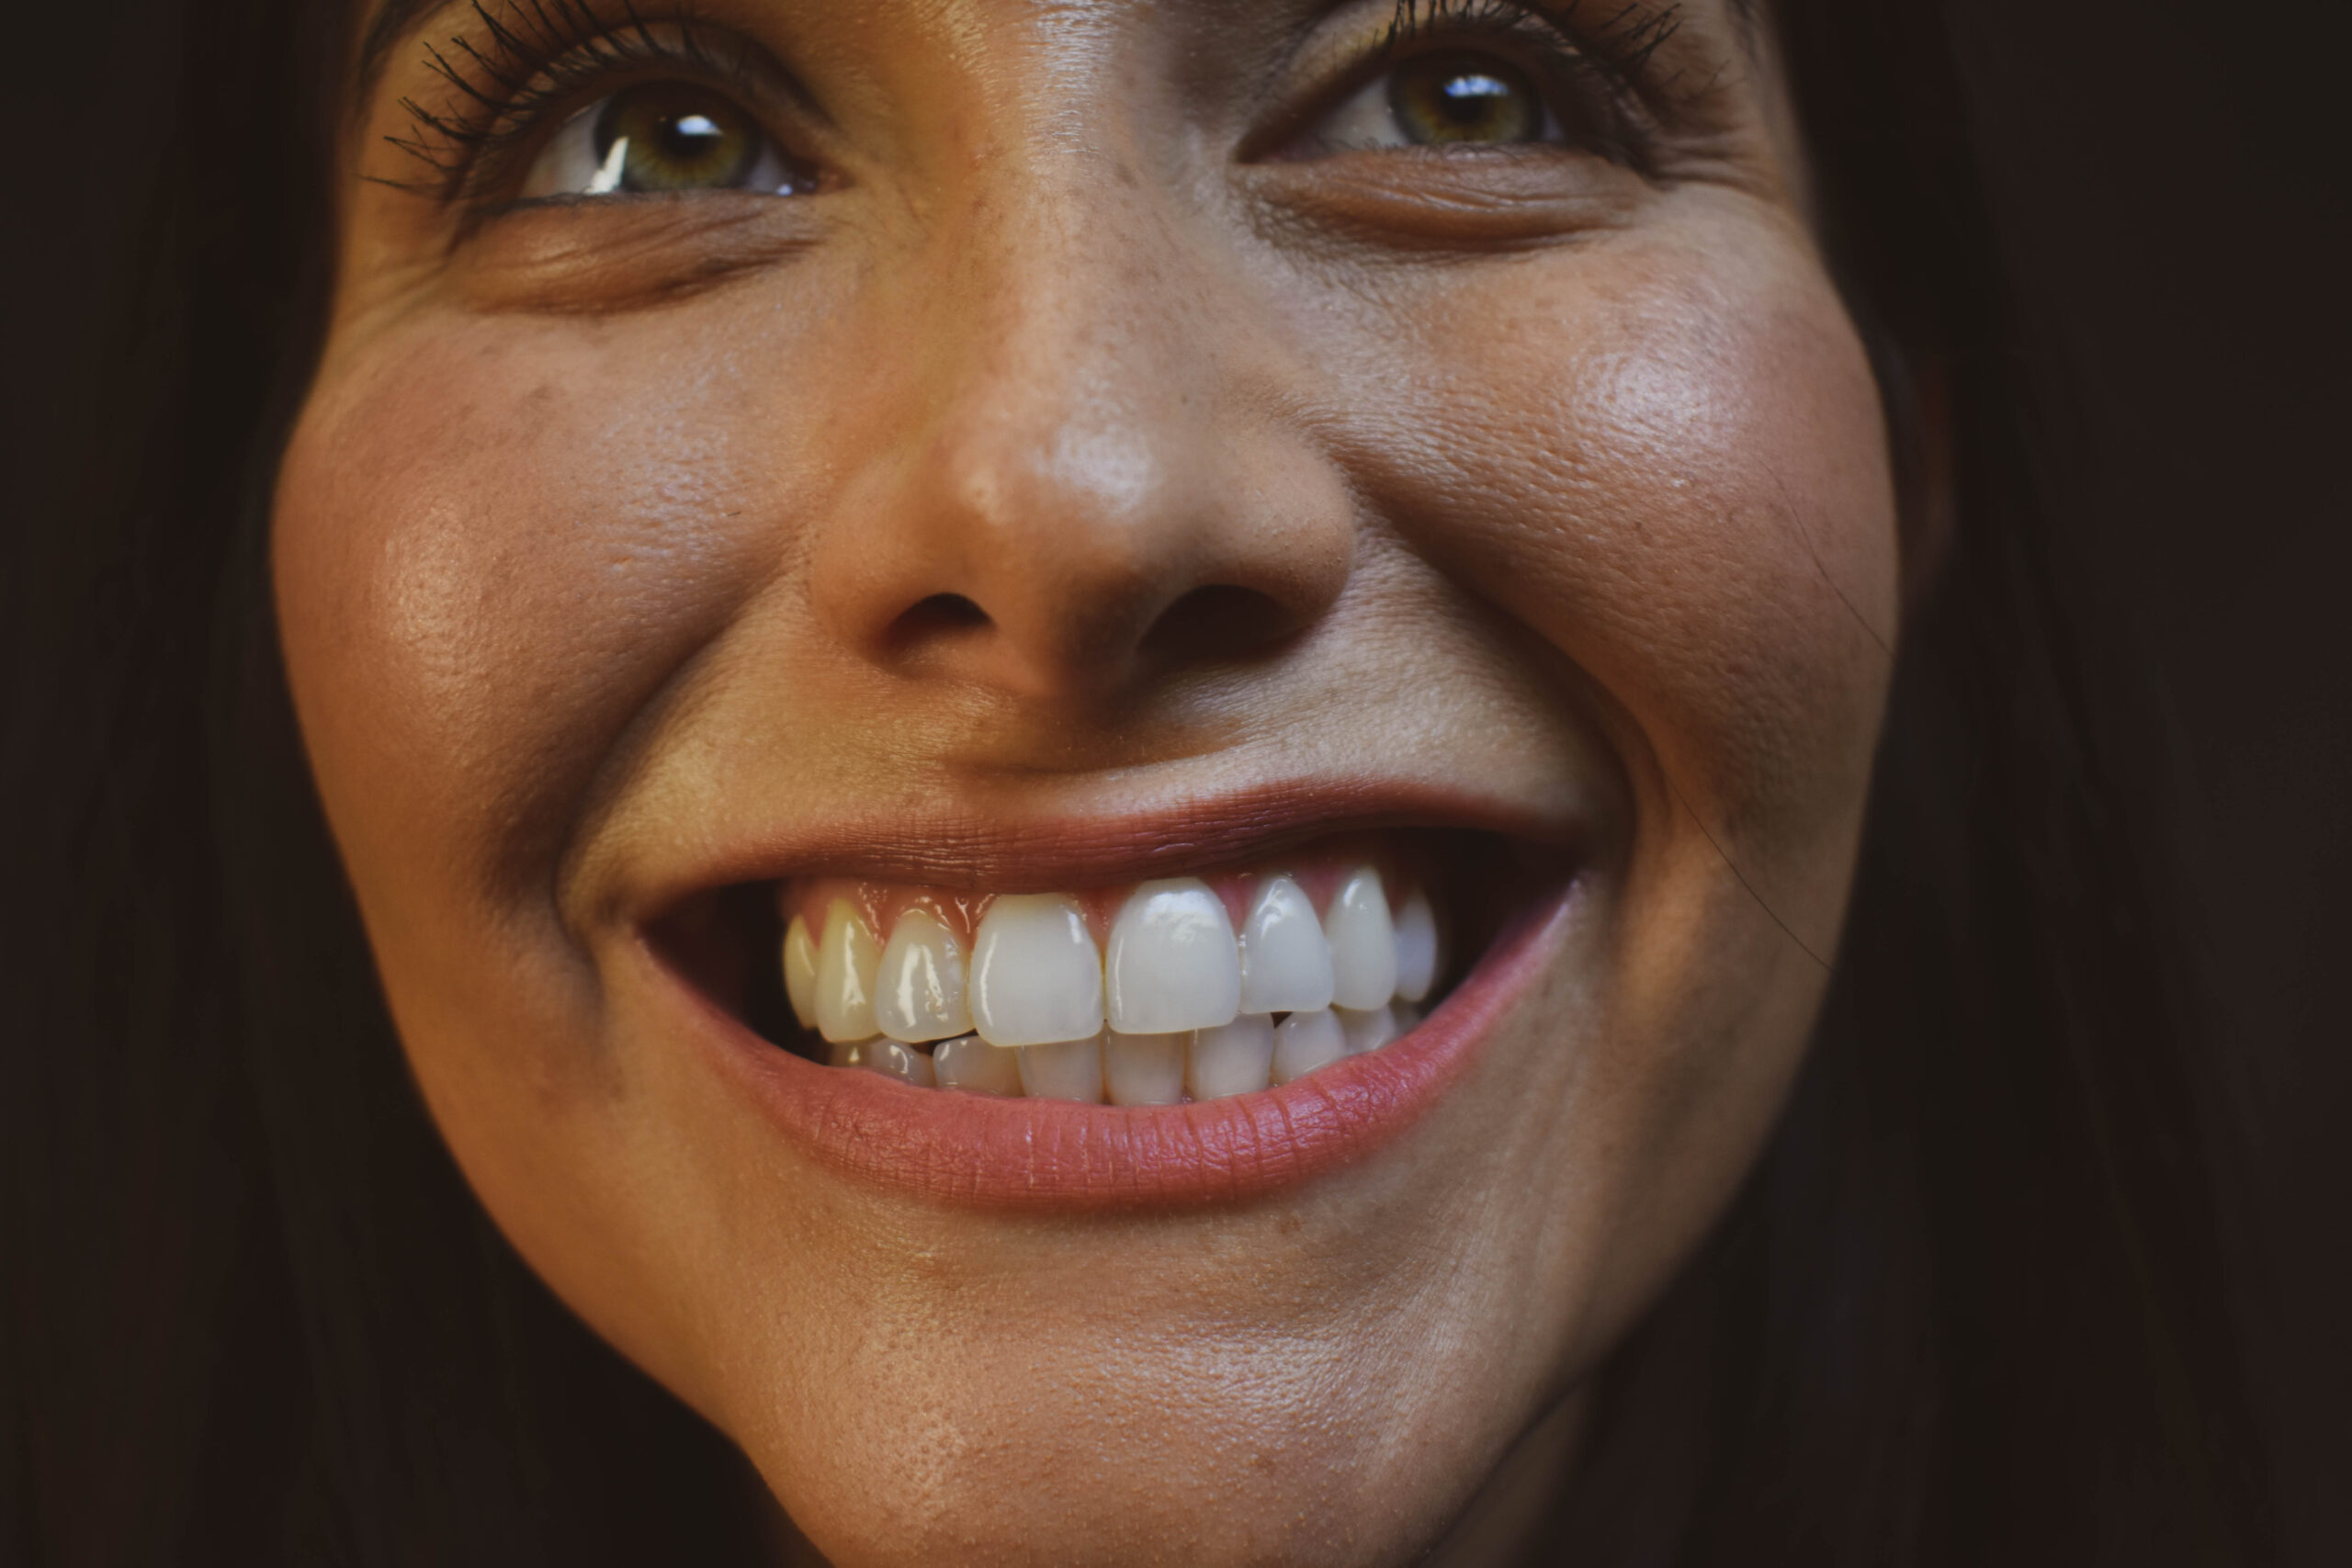
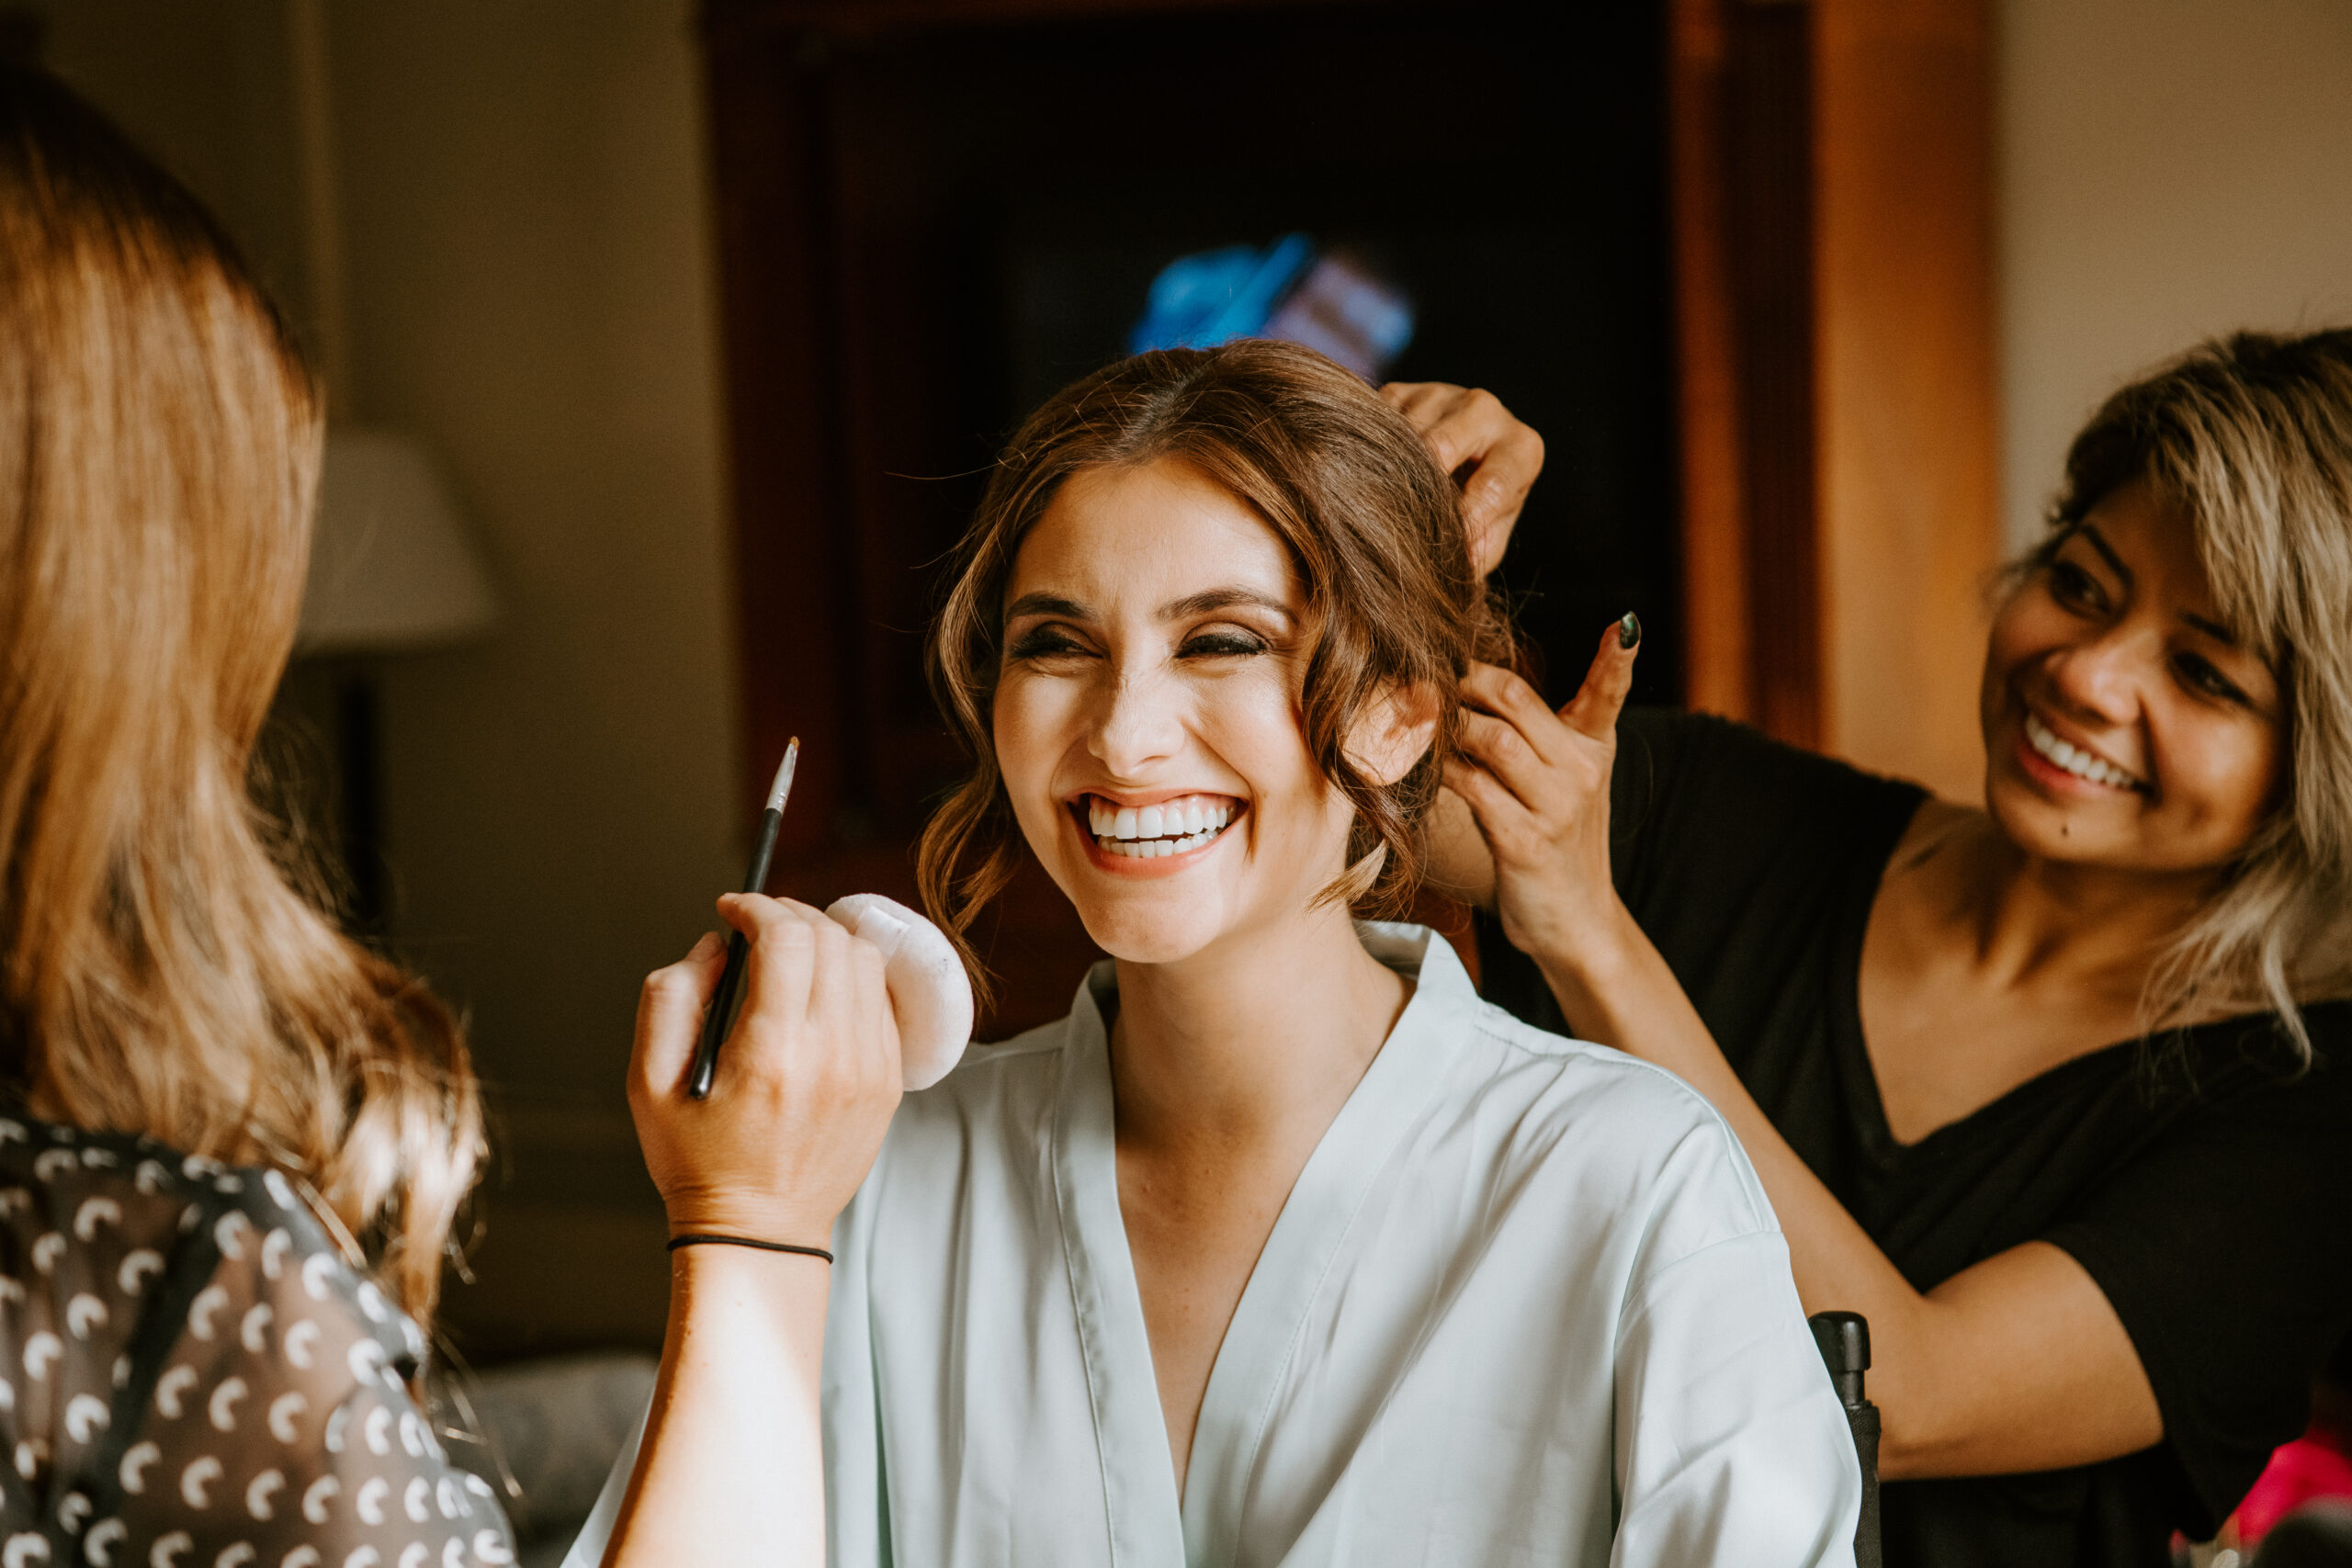
Here are photos from after the applications:
If you have been looking for a whitening kit that really works, is pain-free, and not going to cost you a ton of money SMILE BRILLIANT is your answer.
Who doesn’t whiter teeth??
GIVEAWAY DETAILS
- Giveaway link: www.smilebrilliant.com/g/daniellekeaton (Click here to enter)
- The giveaway is for a $149 Smile Brilliant credit. It is open for 2 weeks (14 days after blog post date) and open to USA, UK, Australia and Canadian residents!
- 15% off coupon code: daniellekeaton15 (Available to everyone!)
